
If there is an irresistible dessert or one that always draws interest, it's cheesecake, and today I bring you a version you'll love: a mascarpone cheesecake steamed, no oven, made in the Premium WMF pressure cooker. Yes, you read that right: in the pressure cooker we can make a cheesecake with an incredibly creamy texture and no fuss.
Thanks to steaming, this mascarpone cheesecake turns out smooth, juicy and crack-free, with that perfect point we all love. Also, it's a simple and quick recipe, ideal when we want a delicious dessert without turning on the oven.
I think this recipe shows how to use several kitchen tools that we often don't take full advantage of. On one hand, the blender: it's ideal for mixing this kind of liquid cake! On the other hand, the pressure cooker — steaming in a pressure cooker is fantastic because you avoid the heat and electricity cost of the oven, and you cook under pressure and steam, quickly and very practically! Are you up for trying it? Let's get to the recipe!

Ingredients
- 250 g Mascarpone
- 250 g Cream cheese like Philadelphia
- 80 ml Cream 35% fat
- 4 Eggs L
- 180 g Sugar
- 1 Pinch of salt
- 1 Teaspoon vanilla extract (optional)
- 2 Tablespoons lemon juice
- Zest of ½ lemon
- 150 g Speculoos cookies
- 50 g Butter
- Blueberry jam (or another red fruit, like strawberry or raspberry jam) and fresh red fruits (plenty of blueberries in my case, but you can use strawberries, for example)
Preparation
1) Steamed in a pressure cooker
- With the help of a chopper (you can use the Kult WMF, it works great for these things) grind the cookies and add the melted butter, blending until it has a texture similar to damp sand.
- Place baking paper in the 18 cm removable Kaiser springform pan, and pour the cookie mixture into the pan, spreading it evenly across the base and sides. Press the mixture firmly, compacting with the bottom of a glass or the back of a spoon. Then, put it in the freezer to chill while you continue with the recipe.
- Pour the mascarpone, the cream cheese, the cream, the eggs, the sugar, the salt, the vanilla and the lemon into the blender jar. Turn the blender on to medium speed until you get a homogeneous, lump-free cream.
- Pour 1.5 liters of water into the Premium WMF pressure cooker, place the separator bridge and, on top of it, put the WMF steaming basket.
- Remove the pan from the freezer, and carefully pour the cake mixture into the pan from a short distance to avoid lifting the cookie base.
- Cover the entire pan with aluminum foil*.
- Close and lock the pressure cooker, with the handle selector in position 2. Set the heat to medium-high until the pressure indicator shows its second ring. Then reduce the heat to minimum and cook for 20 more minutes.
- After the 20 minutes, turn off the heat and let the cooker rest without heat, allowing it to cool naturally without opening it for 30 more minutes (the cake will finish cooking with the residual heat inside the cooker).
- Open the cooker and carefully remove the basket. Let the cheesecake cool at room temperature.
- Refrigerate for a few hours — cheesecake definitely needs chilling to gain consistency and to let the flavors settle.
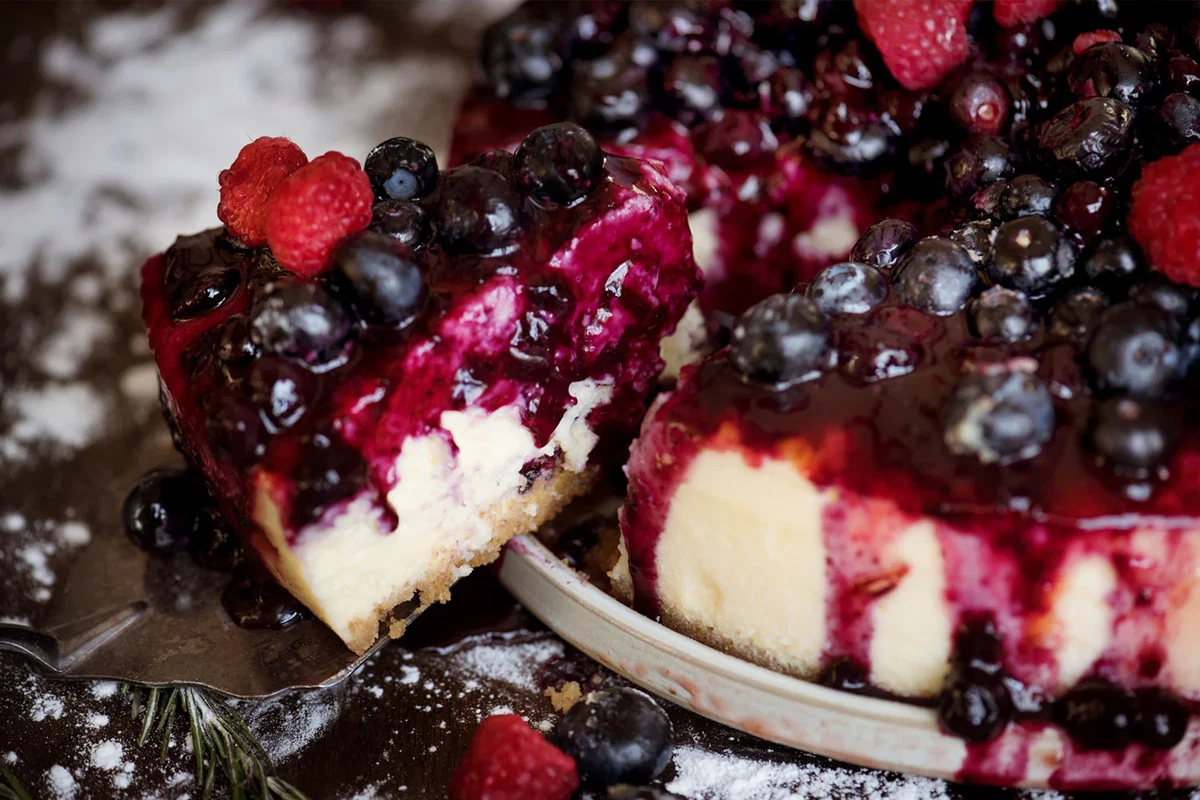
- To serve the cheesecake, open the pan, remove the baking paper and top with jam to taste and fresh red fruits of your choice. Or serve the cheesecake straight from the fridge — it's super tasty!
2) Steamed without a pressure cooker
If you don't have a pressure cooker, you can't miss making this delicious Mascarpone cheesecake! You have the option to make it in a conventional pot with a steamer insert. And if you have the Olla Vitalis WMF, there's no excuse not to make this delicious cake.
- Follow steps 1, 2 and 3 of the pressure cooker preparation.
- Put water in the pot and place the basket. Make sure there's enough water, but not so much that it touches the base of the pan.
- Remove the pan from the freezer, and carefully pour the cake mixture into the pan from a short distance to avoid lifting the cookie base.
- Cover the entire pan with aluminum foil*.
- Cover the pot and set the heat to medium-high until the water starts to boil.
- When it boils, lower the heat but ensure the water keeps boiling so the cake sets.
- Let it cook, without lifting the pot lid, for an hour or a bit longer. The time here is approximate; it's best to check after 1 hour to see if it's set to your liking.
- Open the pot and carefully remove the basket. Let the cheesecake cool at room temperature.
- Refrigerate for a few hours — cheesecake definitely needs chilling to gain consistency and to let the flavors settle.
- To serve the cheesecake, open the pan, remove the baking paper and top with jam to taste and fresh red fruits of your choice. Or serve the cheesecake straight from the fridge — it's super tasty!
NOTES
*The pan is covered with aluminum foil to prevent steam condensation from dripping onto the cake and altering its texture, ensuring even cooking without the top hardening too quickly.



Comments
Claudia&Julia said:
Hola Gemma,
La Vitalis es una opción estupenda para cocinar esta tarta. Si haces la misma cantidad que la de la receta, puede que necesites algo más de tiempo (tal vez alrededor de 1 hora o un poco más), pero hablamos de tiempo aproximado, no sabemos exactamente cuánto sería, tendríamos que comprobarlo.
Si pruebas la receta en la olla Vitalis, ¡ya nos cuentas!
¡Un saludo!
Claudia&Julia said:
Hola Noemí,
Necesitas cocinar la mezcla para conseguir esa textura. Si no cuentas con una olla rápida, puedes hacerla al vapor en cualquier otra olla colocando el molde en un cestillo/accesorio para cocinar al vapor. En ese caso, necesitarás más tiempo que en una olla rápida; seguramente alrededor de una hora o un poco más. Cuando esté lista, saca el molde de la olla y deja que la tarta atempere a temperatura ambiente antes de ponerla a enfriar en la nevera para que se asienten los sabores y tenga más consistencia.
¡Un saludo!
Gemma Hernández Herrero said:
No tengo la olla rápida, pero sí la WMF Vitalis. Se podría hacer, por ejemplo, con 40 minutos como si fuera un flan?
Noemí said:
Hola, tiene una pinta estupenda. Si no disponemos de esa olla a presión, ¿cómo lo hacemos? ¿metiéndolo simplemente a la nevera se logra la textura correcta o habría que hacerlo al baño María ¿cuánto tiempo? Me encantaría poder hacerla :)