
It’s hard to find anything quicker, simpler, and tastier to make in the kitchen than some homemade cookies (especially if we have a pair of “extra” hands eager to join in). There are endless cookie recipes, but generally each of us has one that stands out above the rest—our favorite cookie recipe, the one that never fails. In our case, and after a long and undisputed reign of the typical cookies with chocolate chips, these chocolate cookies type brownie are our last weakness.
And not only because they come nicely loaded with chocolate (and the good kind, the kind we like to eat just like that, straight), but precisely because of that; choose your chocolate Careful attention will make an enormous difference in the final result. After all, this single ingredient—starring twice thanks to the melted chocolate in the dough and the extra chocolate chunks we add at the end—represents almost half (or without the "almost") of the content of each of these chocolate cookies, so it’s more than understandable that it requires special attention in its selection.
Another of the virtues of these chocolatey cookies lies in their irresistible texture; if you like a good brownie as much as I do, you’ll perfectly understand what I’m talking about. I’m referring to that dense and tender crumb at the same time, soft and melt-in-the-mouth, packed with flavor and intensity that at the very least makes you squint, and sometimes can even leave you speechless. You can see it, right?
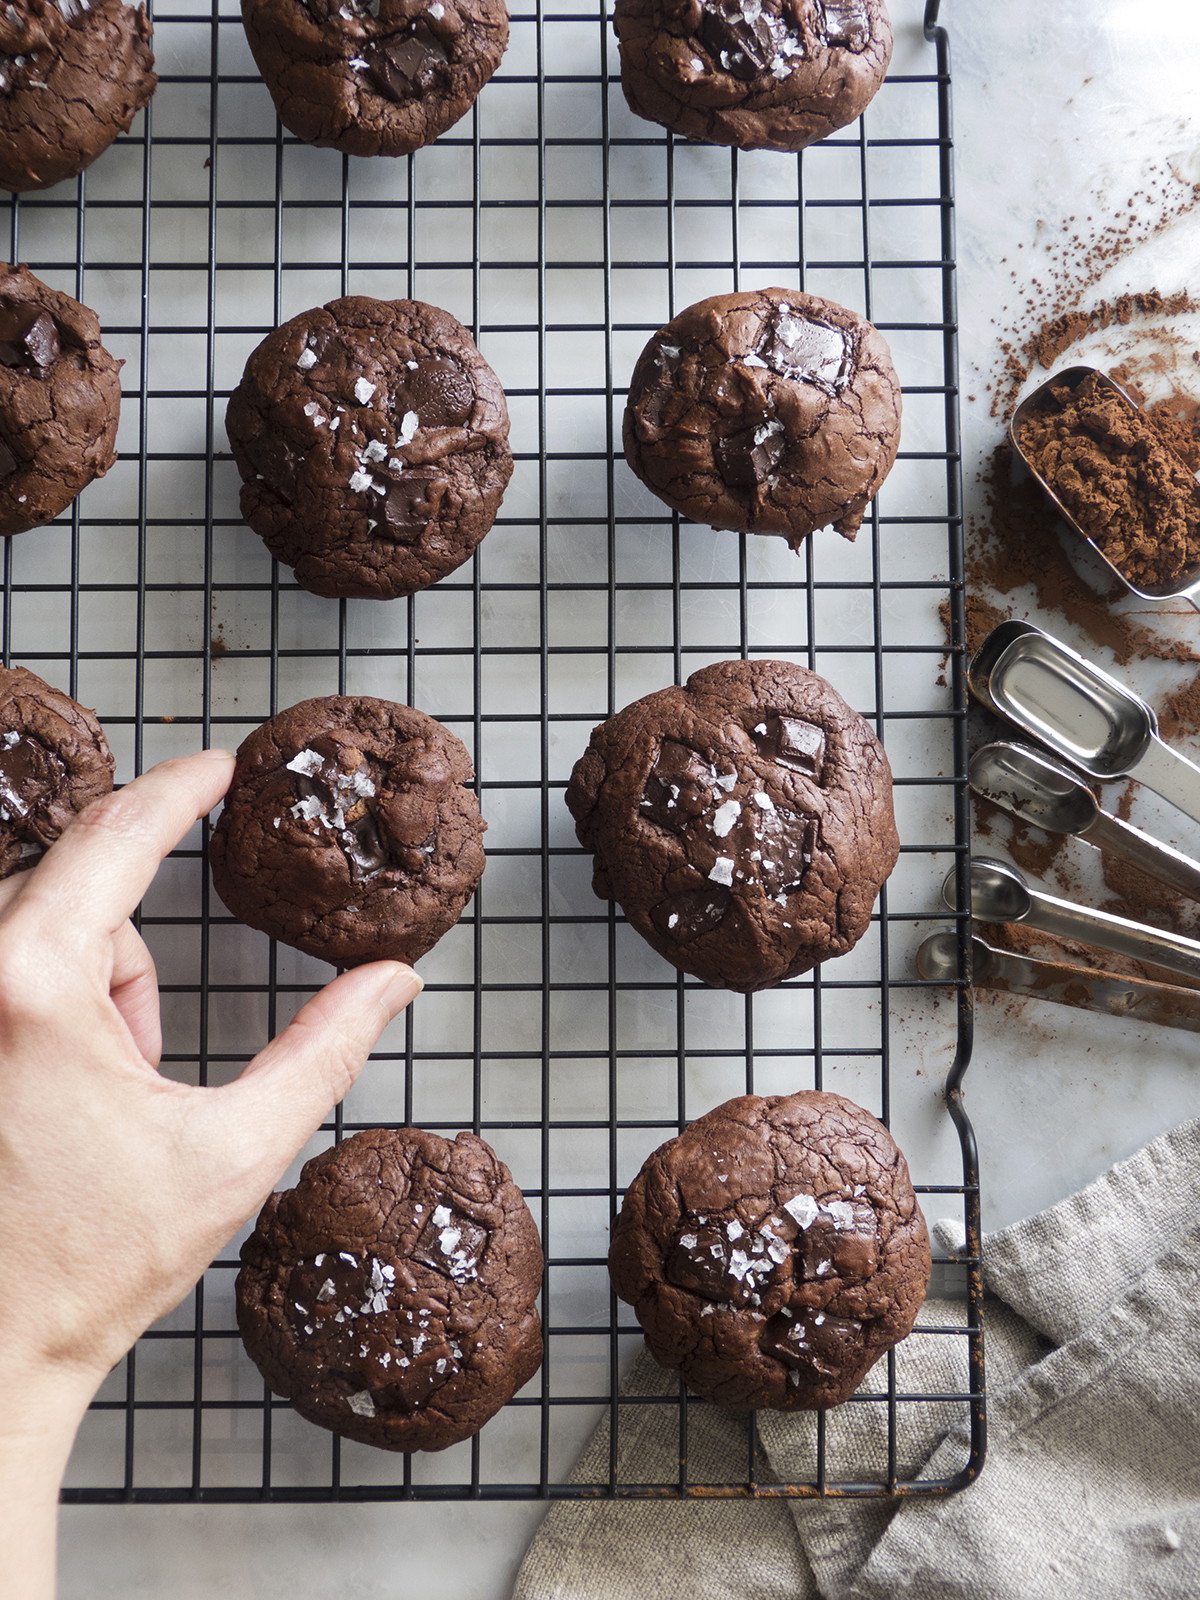
And if all that weren’t enough, what about its looks? That color, that sheen, those irregular cracks whimsically crisscrossing its surface do nothing but promise good times (and if in good company, even better). It’s settled, then. I’ll be here waiting with a couple of these and a small glass of milk so you can tell me about your firsthand experience.
Brownie-Style Chocolate Cookies

Pallarès carbon steel kitchen knife with boxwood handle, T&G wood board and Laura Ashley porcelain bowl
Ingredients (for 24 cookies)
All the ingredients must be at room temperature, unless otherwise indicated
- 225 g of good-quality chocolate (50%-70% cocoa, according to personal preference)(1), finely chopped
- 55 g unsalted butter
- 135 g of whole cane brown sugar
- 1 teaspoon of pure vanilla extract
- 2 eggs (L)
- 85 g all-purpose wheat flour
- 12 g (2 level tablespoons) of pure cocoa powder, defatted and with no added sugars
- 1 teaspoon baking powder (Royal type)
- 1 teaspoon of salt
- 75 g chocolate chips (or chopped chocolate)
- Flake salt (optional)

NoMu Vanilla Extract, De Buyer non-stick baking tray, KitchenCraft Set of 6 measuring spoons and Nordic Ware extra-large cooling rack.
Preparation:
- Preheat the oven to 180ºC (electric and no fan) and place two oven racks, one in the upper third and the other in the lower third(2).
- In a medium heatproof bowl, place the finely chopped chocolate and the butter and melt them in a double boiler set over a medium saucepan with water over medium-low heat (without letting it come to a boil), stirring constantly with a whisk. It’s very important to make sure the bottom of the bowl never touches the water; the chocolate should melt thanks to the heat of the steam, as the water temperature is too high to come into direct contact with the bowl holding the chocolate, which would end up being ruined by the excess heat. The Nordic Ware double boiler saucepan This makes this task truly simple and safe. If we prefer, we can also melt chocolate and butter in the microwave, always at medium power and checking and stirring with a spatula every 30 seconds to prevent the chocolate from burning. Once melted and combined, let the mixture cool slightly while we continue with the process.
- In a separate small bowl, add the flour, cocoa powder, baking powder, and salt, and whisk until fully combined. Set aside.
- In the bowl of our electric stand mixer, equipped with the whisk attachment (or in a large separate bowl with a whisk, preferably electric),we beat the eggs together with the sugar and vanilla extract at medium-high speed for about 4-5 minutes until the mixture takes on a fluffy, smooth consistency. It is very important to incorporate enough air into the mixture at this point to achieve that attractive crinkled surface on our cookies.
- Next, add the melted chocolate and butter (step 2), which will have cooled slightly by now, and gently combine until you get a homogeneous mixture.
- Next, add the dry ingredient mixture we had set aside (step 3) and, now by hand if you’ve been using a stand mixer, gently fold it in with a silicone spatula, using only as many movements as needed until no visible traces of flour remain. You’ll get a dough that’s noticeably looser than other cookie doughs (such as butter cookies or classic chocolate chip cookies), but still dense enough to work with without any trouble.
- We then place about 27 g of dough per cookie (a roughly heaping tablespoon) on a couple of nonstick baking trays(2), like this one from DeBuyer with which we won’t need to use parchment paper for baking, leaving about 5 cm of space between each one. To make this task easier we can use a small ice cream scoop or a pressure gun (without a decorative piping tip). If we don't have any of these accessories, we can also use a pair of soup spoons, making sure the portions of dough are more or less rounded. For greater convenience, we can lightly grease the spoons with nonstick spray or a thin film of neutral-tasting oil (such as sunflower oil, for example).
- Once our portions of dough are arranged on the trays, we distribute the chocolate chips or pieces, pressing them lightly into the dough(3). If the mixture had firmed up a bit (this will depend on the type of chocolate we have chosen(1) and on the time elapsed since we melted it; if we have placed the portions of dough with the help of two spoons, it takes a bit longer and the result is less uniform) and we want our cookies to have a more or less homogeneous shape, we can lightly flatten the portions of dough with our own hands and even smooth with our fingertips the most visible irregularities they may have. Even so, I personally find the rustic look of homemade cookies utterly captivating.
- Finally we bake our cookies for about 10-12 minutes (depending on whether we prefer them softer inside or more done; personally I love them soft in the center like the brownies, so I leave them for less time), swapping the positions of the trays halfway through the baking time. Their appearance won’t tell us when they’re done, so it’s best to err on the side of caution and not exceed the time in the oven, because if they’re overcooked they’ll turn out dry and completely lose their charm.
- We take them out of the oven, sprinkle a few salt flakes over our cookies (if we feel like giving them that salty touch, which I assure you is a real win), and let them rest on the baking sheets for about 5 minutes before transferring them to a cooling rack with a flat spatula so they can finish cooling (fresh out of the oven they’re still a bit fragile). Even so, if one “slips away” before it’s completely cooled, I’m not going to tell anyone…

Notes:
- (1)The higher the cocoa percentage of the chocolate we choose, the more intense the flavor and the denser our cookie dough will become as it cools. Even so, once it’s in the oven, it will melt again without any problem.
- (2)If we don’t have two racks and/or two nonstick baking sheets, we’ll bake our cookies in batches (the remaining dough can stay in the bowl at room temperature between batches). If we’re going to use a standard baking sheet, we will need to line the base with a silicone mat or with parchment paper for baking. In this case, place the sheet on the middle rack of the oven when putting in the cookies, and let it cool before going in with the next batch.
- (3)Some people prefer to add the chocolate chips directly to the dough (in the last step) instead of placing them on each already-formed cookie. The difference is that they may not be as visible (this is just an aesthetic matter), some cookies may end up more loaded with chocolate than others, and if any chip ends up on the bottom of the cookie, it will melt on contact with the baking sheet and leave a hole in the cookie. Also, if we use a cookie press to portion the dough, they could get stuck.
- We can also refrigerate the cookie dough for about 30 minutes once all the ingredients are combined; this way, we can even handle it directly with our hands when portioning it out.
- If you want your chocolate cookies even more chocolatey or with some extra texture, try adding a few more chocolate chips to each cookie (you can even double the amount). You can also skip them altogether, though I don't recommend it; you'd be missing out on a truly indescribable experience.
- Although we'll end up with a slightly different texture and flavor, we can replace butter with olive oil. We'll get cookies that are truly interesting and just as delicious.
- If it seems like too many cookies, you can simply halve the quantities.
- They keep at room temperature in an airtight container, protected from air, for about 3 days.
- Remember: 1 teaspoon = 5 ml; 1 tablespoon = 15 ml.
Don't be fooled by appearances; you'll take less time to make and enjoy these delicious chocolate cookies type brownie than in reading the recipe (you know how much I like to share with you every detail of my experience with the process of the recipes I bring you). And now, time to enjoy!
Best regards,
Pink


Comments
Raquel López said:
Hola, buenos días:
Os sigo hace tiempo y tengo muchas recetas vuestras y creo que ya lo he comentado en alguna ocasión. No podríais poner las recetas con algún enlace que te genere el pdf para imprimirlas? sería muy práctico.
Muchas gracias, y de paso, Felices Fiestas a todos
Silvia de Recetasenmimaleta said:
Yo hago una casi casi igual, la diferencia es que no le pongo el cacao en polvo ni los chips. A veces le pongo una cucharadita de café instantaneo.
Voy a probar con esta receta que tiene una pinta estupenda. Y buena recomendación lo de incorporar la harina fuera de la máquina para no desarrollar el gluten y que no queden duras ni correosas.
MARIA DEL CARMEN said:
Muy ricos.
Creo que hay que tamizar los ingredientes secos, ya que tanto e cacao como el polvo de hornear forman pequeñas bolitas que sólo con tamiz pueden sacarse.
El otro punto que modificaría es el de mezclar con espátula la masa final. Para mí, mezcla mejor la batidora/amasadora.
Saludos.
María Eva Pereyra said:
Muy bueno todo muchas gracias saludos
Eva said:
Uhmmmmm, el punto de la sal me encanta! Voy a probar a hacerlas, ya te diré😘😘😘
El Desván de Galatea (Elena) said:
En mi blog tengo una receta muy parecida a esta. Os dejo enlace http://eldesvandegalatea.blogspot.com/2013/06/galletas-brownie.html?m=0
Besos
Margalida said:
espero que te gusto