Today, in old-fashioned desserts: Meringue mille-feuille! Yes, it may be one of the oldest sweets in history, but for that very reason you're sure to have more than one anecdote to tell about these delicious puff pastries.
Who hasn't gotten completely messy eating one of them? Who has tried by all means not to end up with all their clothes (and when I say clothes, I mean hair too) covered in powdered sugar or meringue?
No matter how much we've tried to keep our composure and finish as gracefully as possible… mille-feuilles are unpredictable, you never know where the meringue, powdered sugar, or puff pastry will pop out…
But hey, let them take away what we've danced! They're so tasty we forgive them everything.
Also, being so easy, quick and with only 3 ingredients (puff pastry, egg and sugar), there's no point in being picky. The best thing is to enjoy them like children and stop worrying.
The puff pastry in this recipe I'm bringing you isn't homemade, but if you buy a good-quality butter one, of course, it will turn out spectacular. Keep in mind that the puff pastry will shrink a bit when baked, about 2 centimeters or so; in the recipe I give my measurements so you can get oriented and make it without problems.
The meringue is super easy, practically the KitchenAid will do it for you; what you must control very well is the syrup, for that you need a thermometer that tells you the exact temperature it needs to reach to get a soft ball-stage syrup.
Aside from that, meringue mille-feuilles are a very rewarding and impressive dessert. So go ahead and make them at home because they're extremely easy.
 Acacia wood spatula T&G and Caractère porcelain espresso cup by Revol
Ingredients for 6 mille-feuilles
1 griddle of butter puff pastry
3 egg whites (about 100 g)
230 g of sugar
75 ml of water
Powdered sugar
Preparation
Puff pastry:
- Preheat the oven to 190 ºC top and bottom heat with the rack in the center. Place the puff pastry griddle on a baking tray lined with parchment paper; using a fork, poke holes all over the griddle.
- Place another sheet of parchment paper over the puff pastry griddle and set a baking tray on top to keep the puff pastry griddle from puffing up and warping.
- Bake the puff pastry griddle for 15 minutes; after this time, uncover the griddle and remove the top parchment so it can brown, about 7-10 minutes.
- Remove the griddle from the oven and now turn the oven up to maximum to lightly caramelize the puff pastry griddle. While the oven heats, dust the puff pastry griddle with powdered sugar.
- We put the puff pastry back in and leave it for ONLY one minute. Remove and let cool completely. This step is totally optional; if you don't want to caramelize it, don't do it.
Meringue:
- In a saucepan put the water and sugar over medium-low heat WITHOUT STIRRING and let it reach a temperature of 100 ºC. When it reaches this temperature, we can start whipping the egg whites.
- Clean the mixer bowl the mixer very well with a few drops of lemon and paper towels. Put the egg whites inside and attach the whisk attachment. Start whipping at medium speed.
- Once the syrup reaches 116 ºC, remove from the heat and when it stops bubbling start pouring it in a thin stream over the stiff egg whites without stopping beating. To avoid splashes, let the syrup fall in a very thin thread along the edge of the bowl steadily.
- Continue beating at medium-high speed until the meringue is dense, glossy and roughly at room temperature.
Mille-feuille:
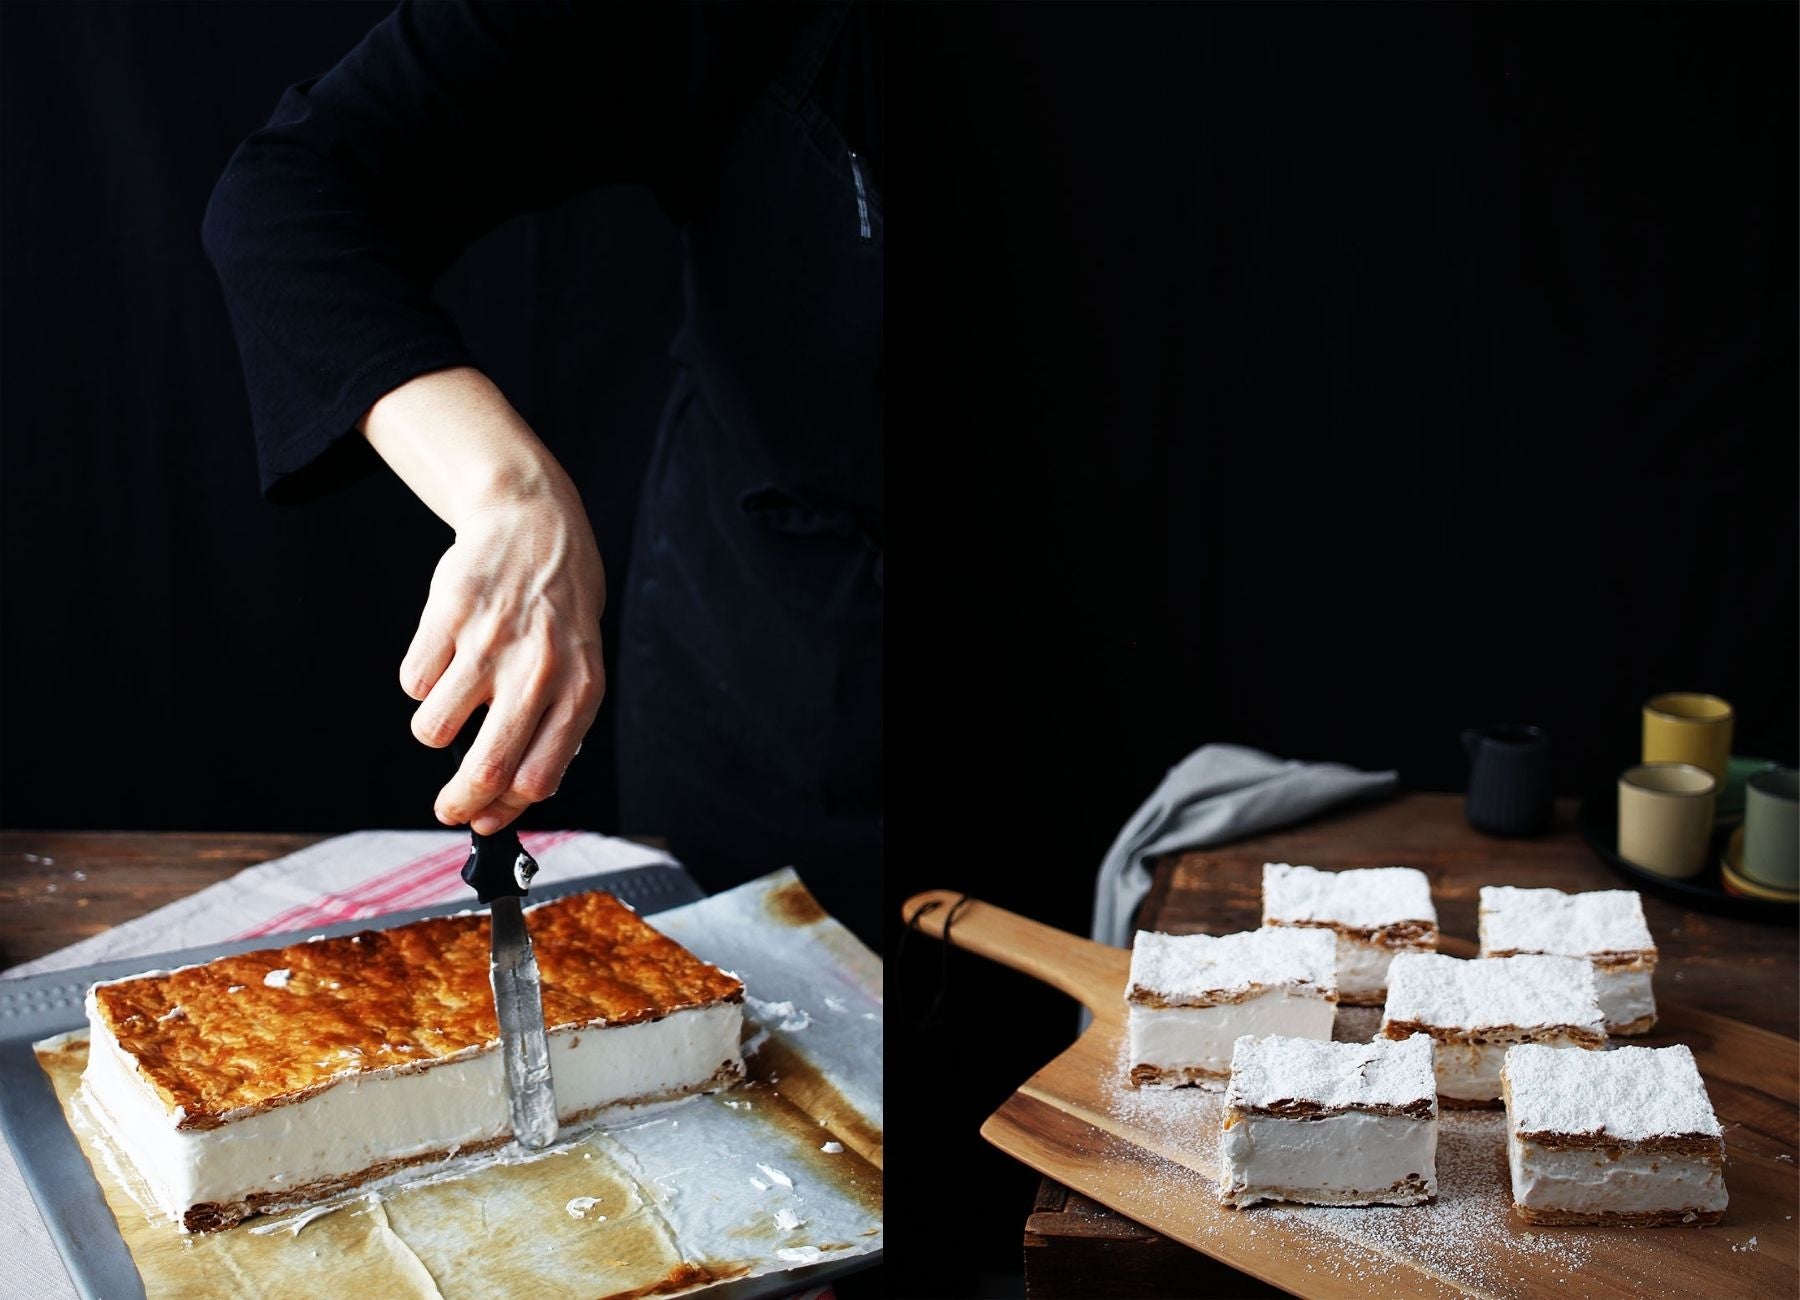
- Spread the meringue evenly over the griddle. Place the other griddle on top and, being very careful not to break it, press. With a spatula smooth the meringue on the edges until completely level. My griddle measured 28 cm before baking it. Once baked it measures 26 cm. With a serrated knife I cut it in half once baked, so now I have 2 griddles of 26x13.
- Now, we just need to portion them. We have 2 options: the first is to let them rest in the fridge until the next day so the meringue settles and becomes firmer and you can handle it more safely; the second option is the riskiest—if you're brave, you can cut it now. You decide!
- Finally, once the portions are cut, dust with powdered sugar and enjoy.
 KitchenAid food processor and Pallarès kitchen knife


Comments
José said:
Hola. En ingredientes pone 1 plancha de hojaldre, pero luego, después de poner el merengue encima de la plancha, dice que se ponga LA OTRA plancha encima….
O sea, que son dos.
Más adelante pone lo de la mitad de la plancha, pero ya hemos puesto el merengue en la misma…
Me pierdo.
Favor de aclarar.
Gracias.
Justa said:
Muchas gracias por la receta, está muy bien explicada!!!
Antonia said:
Gracias por la receta. Me encantan las milhojas, intentaré hacerlas y a ver como me quedan.🤗🤗
Gema said:
Me encantan los milhojas y siempre he querido hacerlos… pero me daba miedito. Parece que no es tan complicado, aunque tiene sus riesgos.
Para hacer las porciones, no sería más fácil cortar antes el hojaldre? (no se si antes de hornear o después) y luego sería rellenar con el merengue a modo sandwich…
CRISTINA said:
A falta de Kitchenaid, se puede hacer con varillas eléctricas con ése resultado? Saludos
MARIA URSULA said:
Me encanta la receta y ademas lo bien explicada que esta
Gracias