Christmas is experienced, but it's clear that it also depends on us how much it intensifies. Like Patri, food blogger from Sabores y Momentos, she is an unconditional addict to these very family-centered dates, she is the ideal person to recommend a pretty and easy recipe to prepare a bundt cake that will be fabulous at this time (¡Although it will be welcome at any time of the year!). I leave you with the recipe.

Now yes, we are already at Christmas! What a great excitement, I admit that I am an unconditional fan of these dates, which at home we celebrate and enjoy intensely with the little ones.
And as it could not be otherwise the recipe I bring you today is typically Christmas, a classic. The gingerbread bundt cake, with an international touch, let's not deny it, but with an intense Christmas scent that will fill your homes. For this recipe I have chosen, of course, one of the wonderful Nordic Ware molds. Those of you lucky enough to have one in your hands know there is nothing comparable, they are lifetime treasures. I don't know about you but until I tried a Nordic Ware I always had an awful dread of the "unmolding" moment, since the chances of pieces of my cake sticking to the pan were high. Since I started using these true wonders I have a flawless unmolding with such sharp lines on my cake that they look like real sculptures. And the best part is the faces of my people when I serve it at the table... Everyone is amazed!! Basically you'll dress your table with a simple recipe baked in these beautiful jewels!!
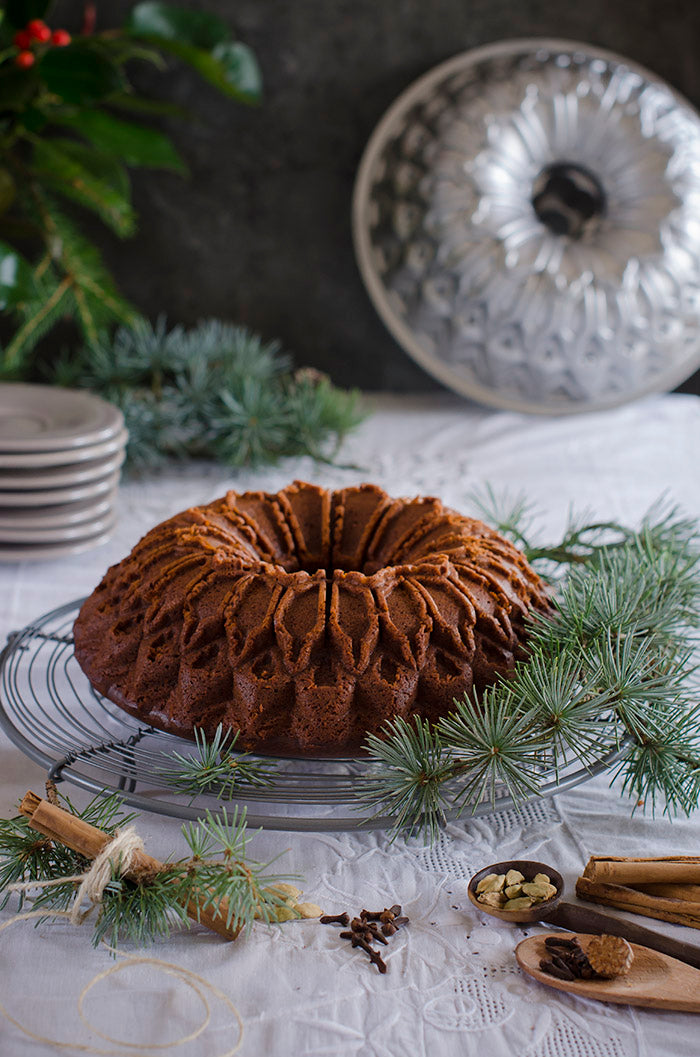
That's why today I have chosen this very special recipe, simple but Christmassy. The warm touch of the spices… cinnamon, cardamom, ginger, nutmeg, clove.... The moist interior texture and the crunchy exterior make it a perfect recipe! And to make it even more perfect I have chosen the spectacular Stained Glass model, which simulates the glazing of ancient stained-glass windows and transports us to other times.
Let's go with the recipe then, which I'm sure you will love!
Ingredients:
- 360g of flour
- 1 tsp (tsp) of baking soda
- 1 1/2 tbs (1 1/2tbs) of baking powder
- 1/4 tsp (tsp) of salt
- 1/2 tsp (tsp) ground cinnamon
- 1/2 tsp (tsp) fresh grated ginger
- 1/4 tsp (tsp) ground clove
- 1/4 tsp (tsp) ground cardamom
- 1/4 tsp (tsp) nutmeg
- 1 teaspoon of vanilla extract
- 3 eggs
- 120g of cane sugar molasses
- 225g of unsalted butter at room temperature
- 250g of muscovado sugar (optional, otherwise brown sugar)
- 200ml of whole milk
- 100g of cream or crème frâiche
Preparation:
- We begin by preheating the oven to 170ºC with top and bottom heat no fan. Grease the pan well and thoroughly with melted butter using a brush or with nonstick spray. Remember to emphasize the nooks and crannies. In a bowl, sift the flour, spices, salt and baking powder. Set aside.
- Meanwhile, with the electric mixer or stand mixer like Kitchen Aid, beat the eggs and sugar until fluffy and lighter in color, about 3-4 minutes. Add the molasses and continue beating.
- In a saucepan over low heat melt the butter and add the cream, milk and vanilla extract and warm without bringing to a boil, careful not to beat, just stir and mix.
- Add the dry ingredients to the egg mixture, stir and then add the butter mixture. Mix by beating until you have a smooth batter. Pour the mixture into the pan and once well distributed, gently tap the pan several times against the countertop to get rid of any air bubbles that remain.
- Bake on the lower rack of the oven for about 55 minutes, always watching so it doesn't brown too much on top. And depending on the oven, 50 minutes will be enough; prick with a skewer to check that it comes out dry and it'll be ready.
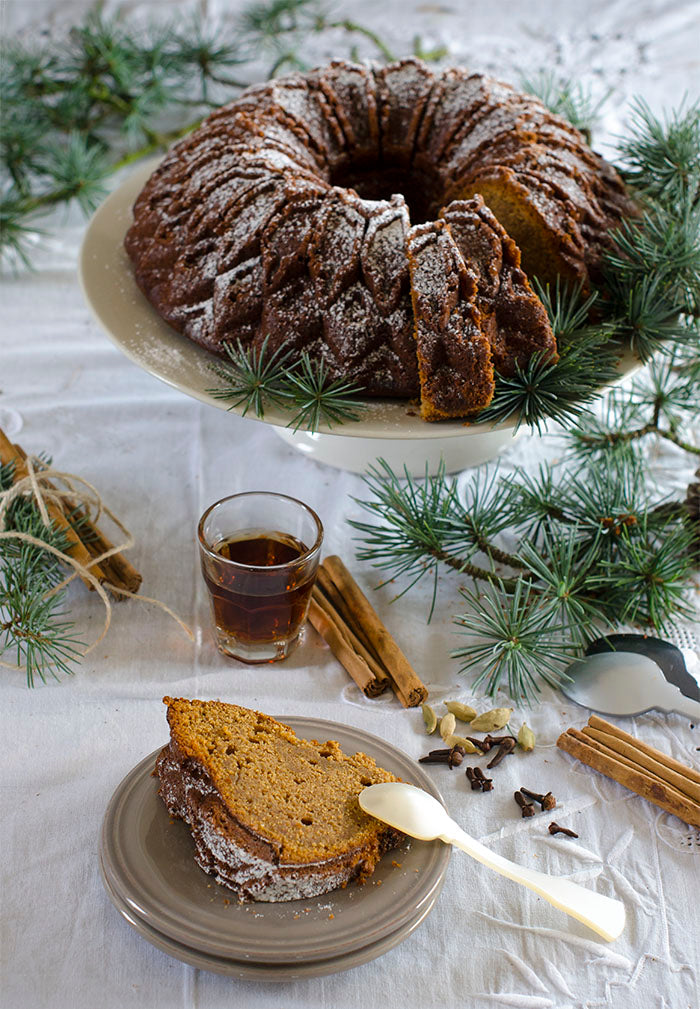
- Remove from the oven. Let cool for 15 minutes inside the pan and then you can invert and remove from the pan letting it cool completely on a rack. If you feel like it, you can dress it with glaze; I simply opted for a little powdered sugar on top.

Tip: I recommend grating fresh ginger and, in a mortar, grinding the cloves and cardamom instead of using pre-ground ones; the difference is noticeable as the aromas and flavors are more intense.


Comments
Fernando said:
Buenas tardes. Yo tengo que decir que la decepción es máxima con estos moldes( y también con los sellos). Lo he hecho dos veces y las dos se pegaron mucho en el molde( habiendo utilizado en spray que venden en la web). He seguido todas las indicaciones de Claudia y Julia, las de Nordic Ware…y nada. Deberían avisar de estas complicaciones, porque son bastante caros como para tener que hacer un master para hacer un bizcocho.
Saludos
Marga said:
Estoy encantada con este molde!!..mi primera experiencia con Bundt ,queda súper bonito todo lo que hago en el..espero que en el próximo que me compre me pase lo mismo..Gracias
Claudia&Julia said:
Hola Jasmine,
Nos ponemos en contacto contigo para intentar encontrar el porqué no te resulta este molde y poder ayudarte.
Muchas gracias.
Jasmine Samara said:
Hola , la verdad compre mis moldes Nórdic Ware con mucha ilusión pero me ha pasado igual que a Esther . No hay manera que me salga bien . Queda totalmente pegado en el fondo . Un desatre , a pesar de seguir todas las orientaciones . Lo cual no me sucede con mis moldes viejísimos y con la misma receta .
Me siento decepcionada .
Claudia said:
Hola Esther, lamentamos que tu experiencia con los bundts no haya sido tan buena como es de esperar. La verdad es que en general todo el mundo queda muy contento, pero sí que hay algunos truquillos que ayudan para que salga perfecto. Te dejo link a un post en que los comentamos (https://www.claudiaandjulia.com/blogs/general/17374164-moldes-nordic-ware-un-bundt-cake-perfecto) y en este vídeo los ponemos en práctica: https://youtu.be/4iH71OZ5D64. Espero que resulte de ayuda, un saludo!
Claudia said:
Qué gracia, Concha!! Nos alegra mucho que resultara tan y tan bien, la verdad es que es una receta muy fácil de seguir y con un sabor exquisito :) Un saludo!
Esther said:
Solo leo maravillas de estos moldes y me gustaría dar una opinión diferente. Tal vez sea yo, no lo pongo en duda puesto que mi marido hizo un bizcocho y le quedo estupendo pero, siempre hay un pero… Lo he intentado dos veces siguiendo todas las indicaciones de cómo desmoldar los maravillosos Nordicware y no puedo hablar tantas maravillas. Siempre había usado un sencillo y vulgar molde de silicona el cual jamás se ha pegado, algo que no puedo decir con Nordic… Así que por favor, no hablar tantas maravillas porque también tiene sus pegas. Un saludo
Concha said:
Tengo que deciros soy una mal repostera, pero esta receta me salio fantastica. Un amigo repostero quedo flipado y me pidio la receta