
If something makes a holiday traditional in my house it's bringing to the table some wafer rolls or "neulas" filled, as we always call them at home. We love them! On the Christmas table and at Easter they never fail to appear, and we serve them after dessert, alongside nougats or tea biscuits, at coffee time. They're a perfect sweet bite to finish the meal, And they are very easy to make at home!
In this post you'll find the recipe to make traditional wafer rolls. The recipe we always use at home, and with which you get delicious crispy wafer rolls, with that rustic look that only homemade things have.
Wafer rolls are ideal for any Sunday, or to charmingly present any dessert, from custard or flan to ice cream. Plain or filled, they're perfect to accompany coffee.
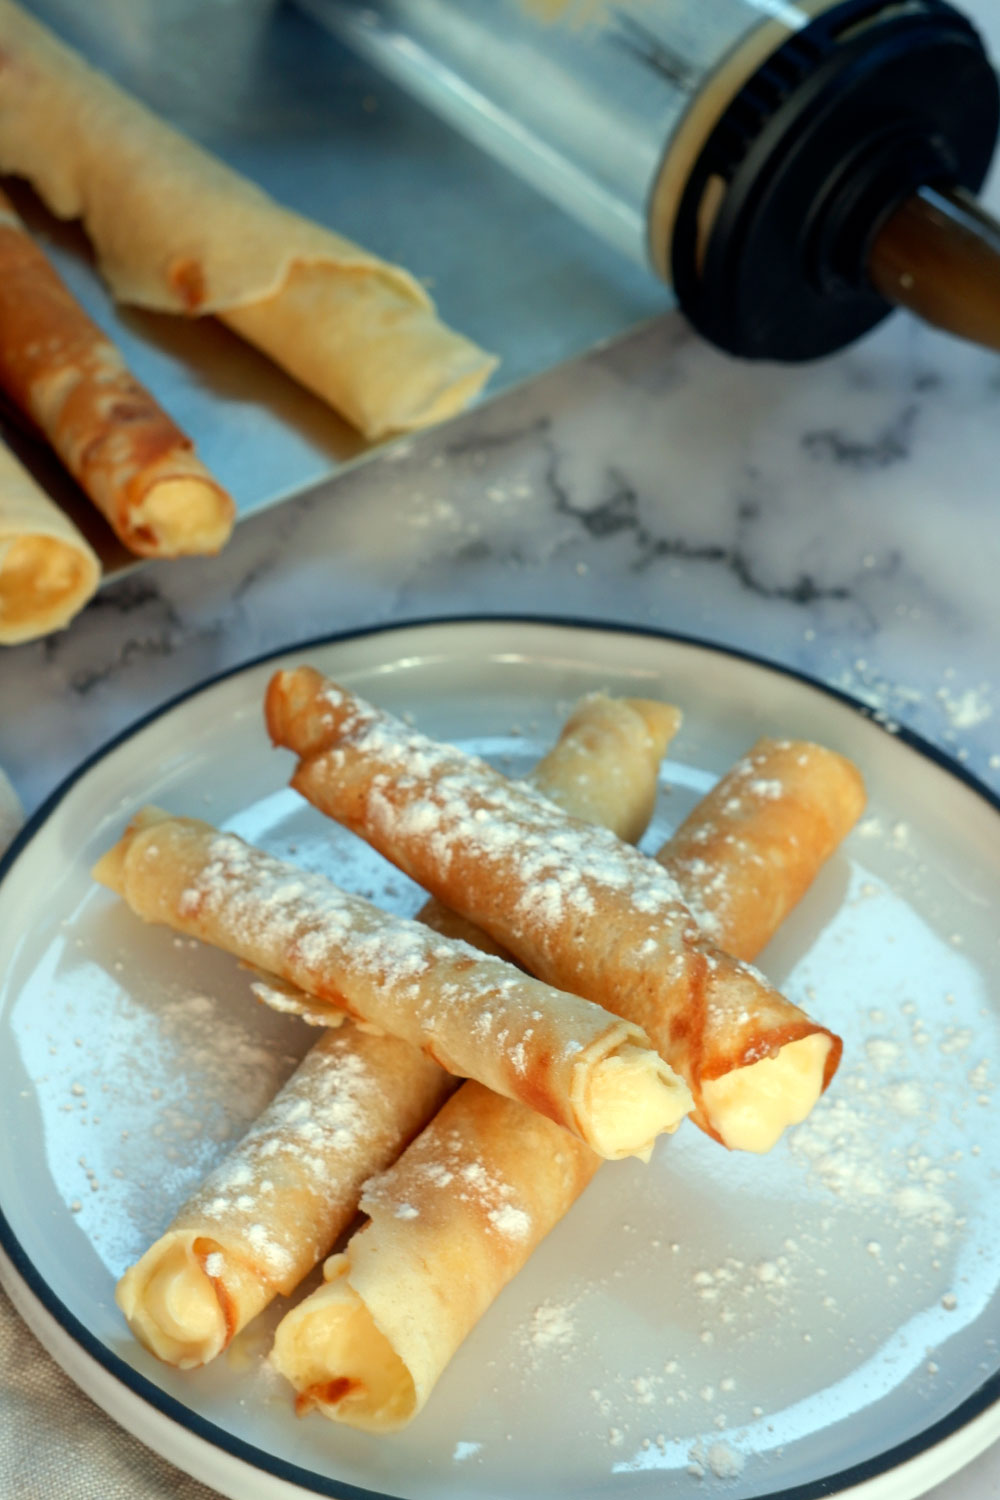
We bring them to the table on different trays: on one side plain, and on other trays filled with the most typical and universally loved fillings:
- Wafer rolls filled with vanilla pastry cream
- Wafer rolls filled with whipped cream
- Wafer rolls dipped in chocolate
- Wafer rolls dipped in chocolate and filled with whipped cream
To make some wafer rolls you will only need a crepe-type pan (low sides work very well for flipping and folding).

Ingredients
- 65 g butter softened to room consistency
- 70 gr egg whites (the whites of 2 eggs)
- 70 gr pastry flour
- 45 g powdered sugar
- 20 ml water
Preparation
Making the wafer rolls:
- Heat the crepe pan over low heat.
- In a bowl, first add the eggs and beat them with the sugar.
- Then add the butter and the flour and a couple of tablespoons of water, and beat everything. You can use a whisk, an electric mixer or put everything in a blender. Be practical, you just want to combine everything well and it takes a second.
- When the crepe pan has gradually gained temperature, raise the heat to medium, and pour half a ladle of the wafer batter into the crepe pan. Spread it well*, tilting the pan toward different sides, and leave on the heat until the batter cooks.
- When you see it done, flip it using a long crepe spatula, and let the other side cook. Since the layer of batter you put in the pan is very thin, it cooks in a few seconds.
- Transfer the cooked batter to a wide surface (I use a cookie baking tray), and you must fold the batter quickly while it is still soft. Careful, it's hot! You should do it quickly from one end of the batter and roll it forming a tube. It's very useful to use a chopstick or a pencil, placing it at one end of the batter and wrapping the batter around it.
- Repeat the operation with the rest of the batter: put mixture in the pan, brown it, transfer the cooked batter to a tray and wrap while it's still hot, forming the wafer rolls.
- Let them cool on a cooling rack so they become crispy.
Filling the wafer rolls:
Once cool, decide what you want to fill them with. You can reserve some to serve unfilled, and fill others with:
- Fill them with whipped cream: in the KitchenAid bowl, pour 250 ml of very cold heavy cream (just out of the fridge), and start whipping with the whisk attachment at high speed (speed 8). When the cream begins to thicken, add 75 gr of sugar and continue whipping until stiff.
- Fill them with pastry cream: It's very easy to make at home! In this post I tell you how to make pastry cream.
- Fill them with almond cream or frangipane: a delicious and elegant cream, here's the recipe.
- Dip them in chocolate completely, halfway along their length or only the ends: simply dip them in melted dark, milk or white chocolate, and let cool on a rack or tray.
If you fill them with whipped cream or cream, once the filling is ready pass it to the tank of the De Buyer pressure gun or to a piping bag, and apply the filling to the wafer rolls. Careful! You need pressure for the filling so it "pushes" to the other end. In this case, I recommend the gun because you can hold the wafer roll with one hand and squeeze the trigger comfortably with the other.
Notes
- The wafer batter is very liquid, and you should not overdo it. The idea is to make a thin batter, and you'll see that it spreads very well when you want to cover the entire surface.
- If you see that the wafer batter is not very liquid, you can add a couple more tablespoons of water.
- As when making crepes, it's unlikely the first wafer roll will come out perfect. It will probably be thicker than it should, but you'll see practice makes perfect, and little by little you'll refine your technique.
- You can make long wafer rolls, the size of the crepe pan if you fill its entire diameter, or make short wafer rolls. For that, just apply a couple of tablespoons in the pan and make a small-diameter circle.



Comments
Clàudia said:
Hola Maria, se usan solo las claras, la aclaración es para dejar entender que 70gr de claras correspnden a las claras de 2 huevos, pero se usan solo las claras, miraré de explicarlo mejor. Gracias!! Verás qué ricas salen.
Saludos!
C.
Maria said:
Gracias por la receta!!! tengo una duda, son dos huevos enteros yema y clara, o solo las dos claras? gracias
Claudia said:
Hola Amparo, solo tienes que batirlas un poco, no nos interesa que cojan aire de hecho, así que bátelas lo mínimo para mezclar e integrar el azúcar y añade ya el resto de ingredientes. ¡Espero que las disfrutéis! Gracias por tu interés.
Amparo said:
Muchas gracias por la receta! Las claras se pretende que estén a punto de nieve? Estropéalos la masa si se sobre bate?