
Choux pastry lovers, this recipe is undoubtedly for you. I present a preparation that, I'm sure, will become part of your recipe collection, Karpatka Cake, famous Polish cake made with choux pastry and vanilla mousseline cream.
It's hard to describe how such a simple recipe can yield such an extraordinary and spectacular result. I give you my word it will be your star dessert to share with guests, friends, or family.
Origin of the Karpatka Cake
As I mentioned earlier, the Karpatka cake is a traditional cake of Polish origin. As happens with some recipes, in this case it's difficult to know its origins.
There are rumors about a pastry chef who, wanting to bake individual puff pastry pieces, placed them too close to each other. The result was a sheet of pastry fused into a single piece. He decided to cut it in half lengthwise and fill it with cream. Afterwards they were cut into squares and dusted with powdered sugar, thus recalling the snow-covered hills of the Carpathians.
According to a gastronomy textbook, the Karpatka cake is described as a sheet of shortcrust pastry covered with cream and, on top of that, a sheet of choux pastry.
The first written mention dates from 1972 in a script for students of Polish philology.
The name of the cake
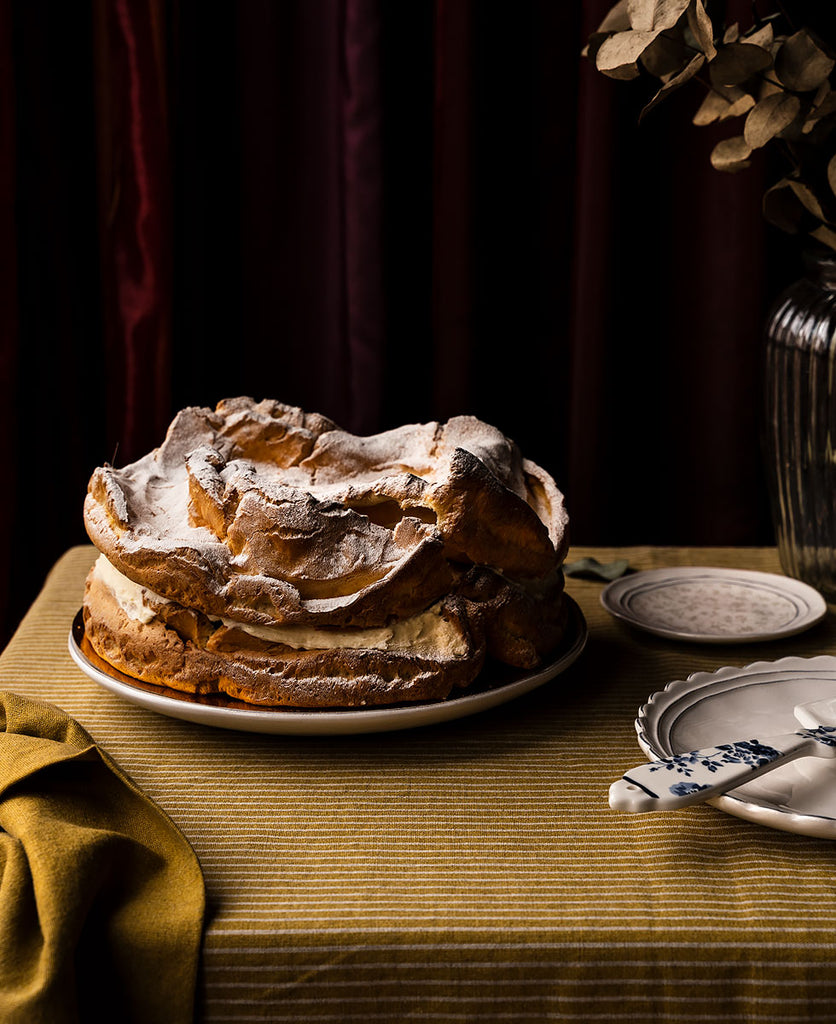
As you might expect, its name comes from the mountain range of Central Europe, the Carpathians. The wavy shape of the cake's choux pastry after baking, combined with the surface dusted with powdered sugar, creates a direct link to its appearance.
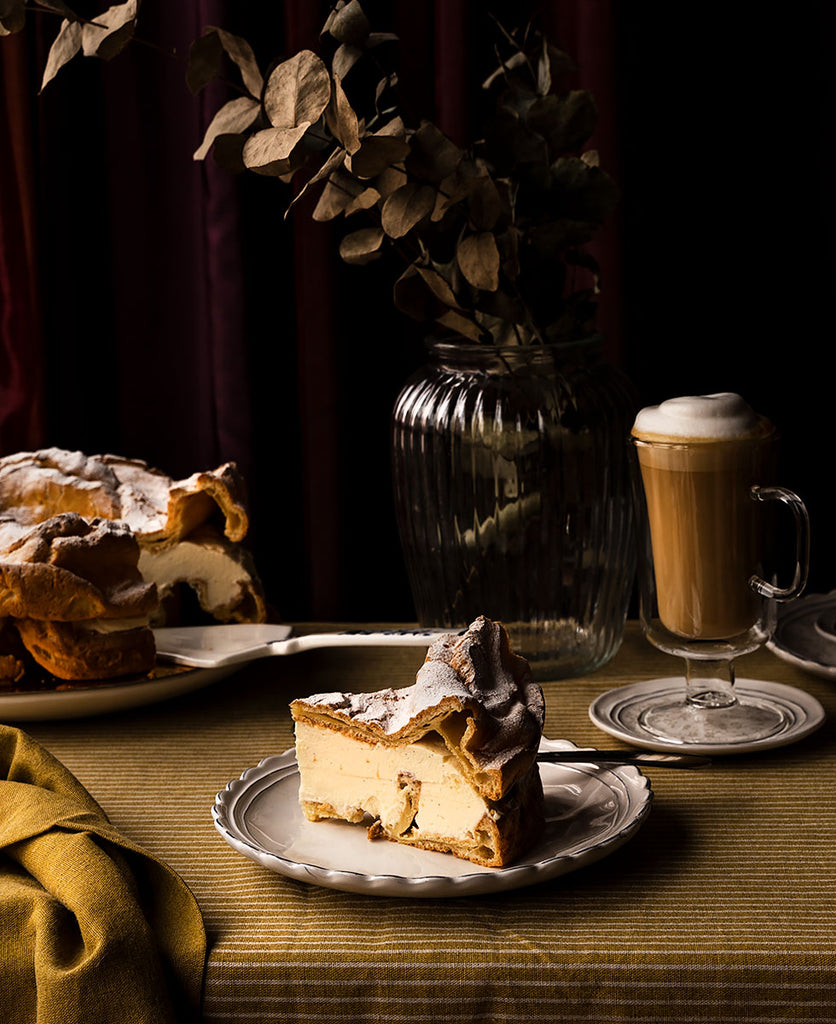
The Karpatka cake consists of two layers of pastry separated by a filling of pastry cream and butter, mousseline cream. Traditionally, the bottom layer of pastry (once baked) is spread with jam, covered with cream, and the other layer of choux pastry is placed on top.
According to gastronomy textbooks, the bottom layer of the cake should be made of shortcrust pastry and the top layer of choux pastry. But the most widespread recipe is made with both layers made from choux pastry. Finally it is cut into rectangular portions and dusted with powdered sugar.
The first pre-made product with which we could buy part of the product made to speed up its preparation at home was launched in 1986 by Kujawskie Zakłady Koncentratów Spożywcze w Włocławek, the current company Delecta SA.
In 1995, the Karpatka cake was registered at the Patent Office of the Republic of Poland by Delecta SA.
In 1996, Dr. Oetker introduced practically the same product with the same name. This resulted in a 12-year legal dispute that ended in 2011 in favor of Delecta SA.
Making the Karpatka cake at home
I know some of you have had some bad experiences preparing choux pastry at home. But don't worry, in this preparation I detail the whole process step by step so there won't be any problems when making it at home.
It's very important that you do not skip any of the steps, as well as observe the consistency of the dough (so as not to leave it too runny, which would result in a poor outcome).
On the other hand, let's prepare a somewhat particular pastry cream, but I assure you you'll be fascinated by how creamy it is. This cream, once cooled, will be combined with whipped butter to create mousseline cream. If you haven't tried it before, I promise it will surprise you.
Ingredients
For the choux pastry:
- 125 g whole milk
- 125 g water
- 140 g soft wheat flour for baking
- 114 g unsalted butter, room temperature
- 4 eggs L
- ½ teaspoon sugar
- 3 g salt
For the mousseline cream:
- 500 g whole milk
- 100 g heavy cream for whipping
- 2 eggs L
- 130 g sugar
- 50 g Maizena
- 2 teaspoons natural vanilla extract or 1 vanilla pod (the seeds)
- 250 g unsalted butter, room temperature
Preparation
Prepare the choux pastry:
- Preheat the oven to 210ºC with top and bottom heat.
- Sift the flour, set aside.
- In the DeBuyer sauté pan, add the water together with the milk, salt, sugar and butter. Place over medium heat and leave until it reaches a boil.
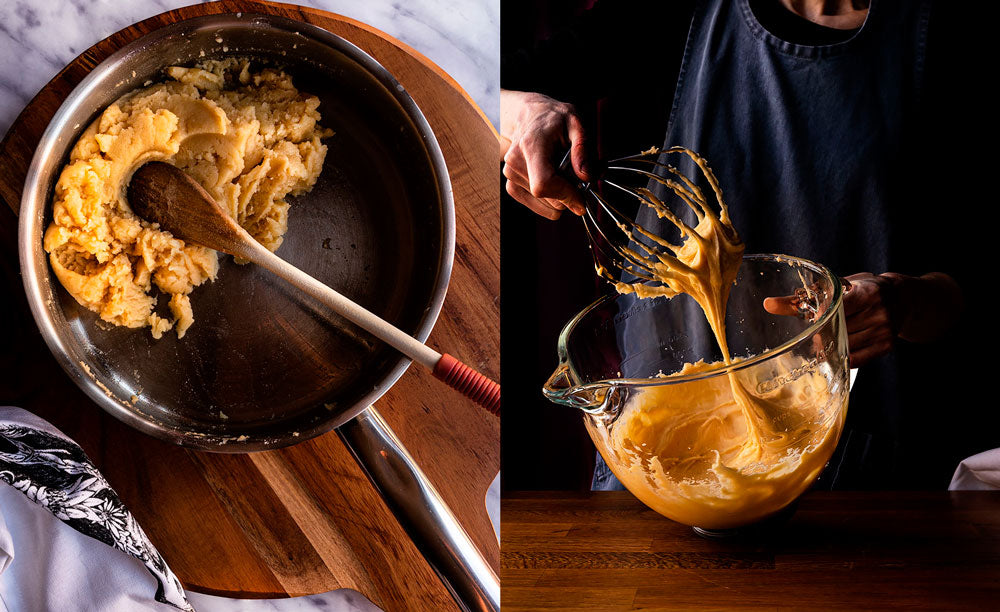
- Once it comes to a boil, remove from the heat and add the flour all at once. With the help of a spoon/spatula, stir at a fast and continuous pace.
- You will obtain a compact ball of dough that we will need to dry. Return to medium-low heat and, without stopping stirring, cook for 2 more minutes. The degree of drying of the dough will determine the amount of eggs it can absorb, giving a better result in terms of texture and flavor.
- After this time, transfer the dough to the KitchenAid bowl and let it cool slightly.
- Incorporate the first egg and mix with the whisk at speed 1 until homogeneous. Beating helps the dough take on air, favoring later rise during baking.
- Add the next egg and mix until fully incorporated. Repeat the same process with the remaining eggs.
- If the dough remains very dry and without the proper consistency, when lifting the whisk and turning it the dough should form a hook, it should not stay very firm, you'll need to add a little more egg. I detail how to do this in the notes.
Divide the dough and bake:
- Divide the total amount of dough into two equal parts, it will be around 300 g or a little more.
- Fill the DeBuyer perforated mold with one of the halves. Spread the dough over the entire surface of the mold making sure to reach the sides. You will find it is a small amount for this size of mold, but the dough puffs up (rises) a lot during baking. When spreading the cream, we'll have a layer of choux pastry that is not very thick.


Prepare the pastry cream:
- In a medium pot or in the same DeBuyer sauté pan, add the milk together with the cream and vanilla, place over medium heat and leave until it reaches a gentle boil.
- Meanwhile, in a bowl beat the eggs together with the sugar and the sifted Maizena. Mix well using a whisk.
- Once the milk has come to a boil, pour a little into the egg mixture.
- Whisk well to temper them and avoid lumps.
- Incorporate the rest of the milk, in batches, and mix each time to incorporate and homogenize.
- Pour the mixture into the pot or pan and place over medium heat without stopping stirring. You will notice that the texture, little by little, will become denser.
- Cook until the cream has a creamy and slightly thick texture. It will take you a little while.
- Remove from the heat, pour the cream into a container (the wider it is, the better since it will cool faster) and cover with plastic film directly on the surface to prevent a skin from forming (touching the surface of the cream).
- Let cool completely.
Finish the mousseline cream:
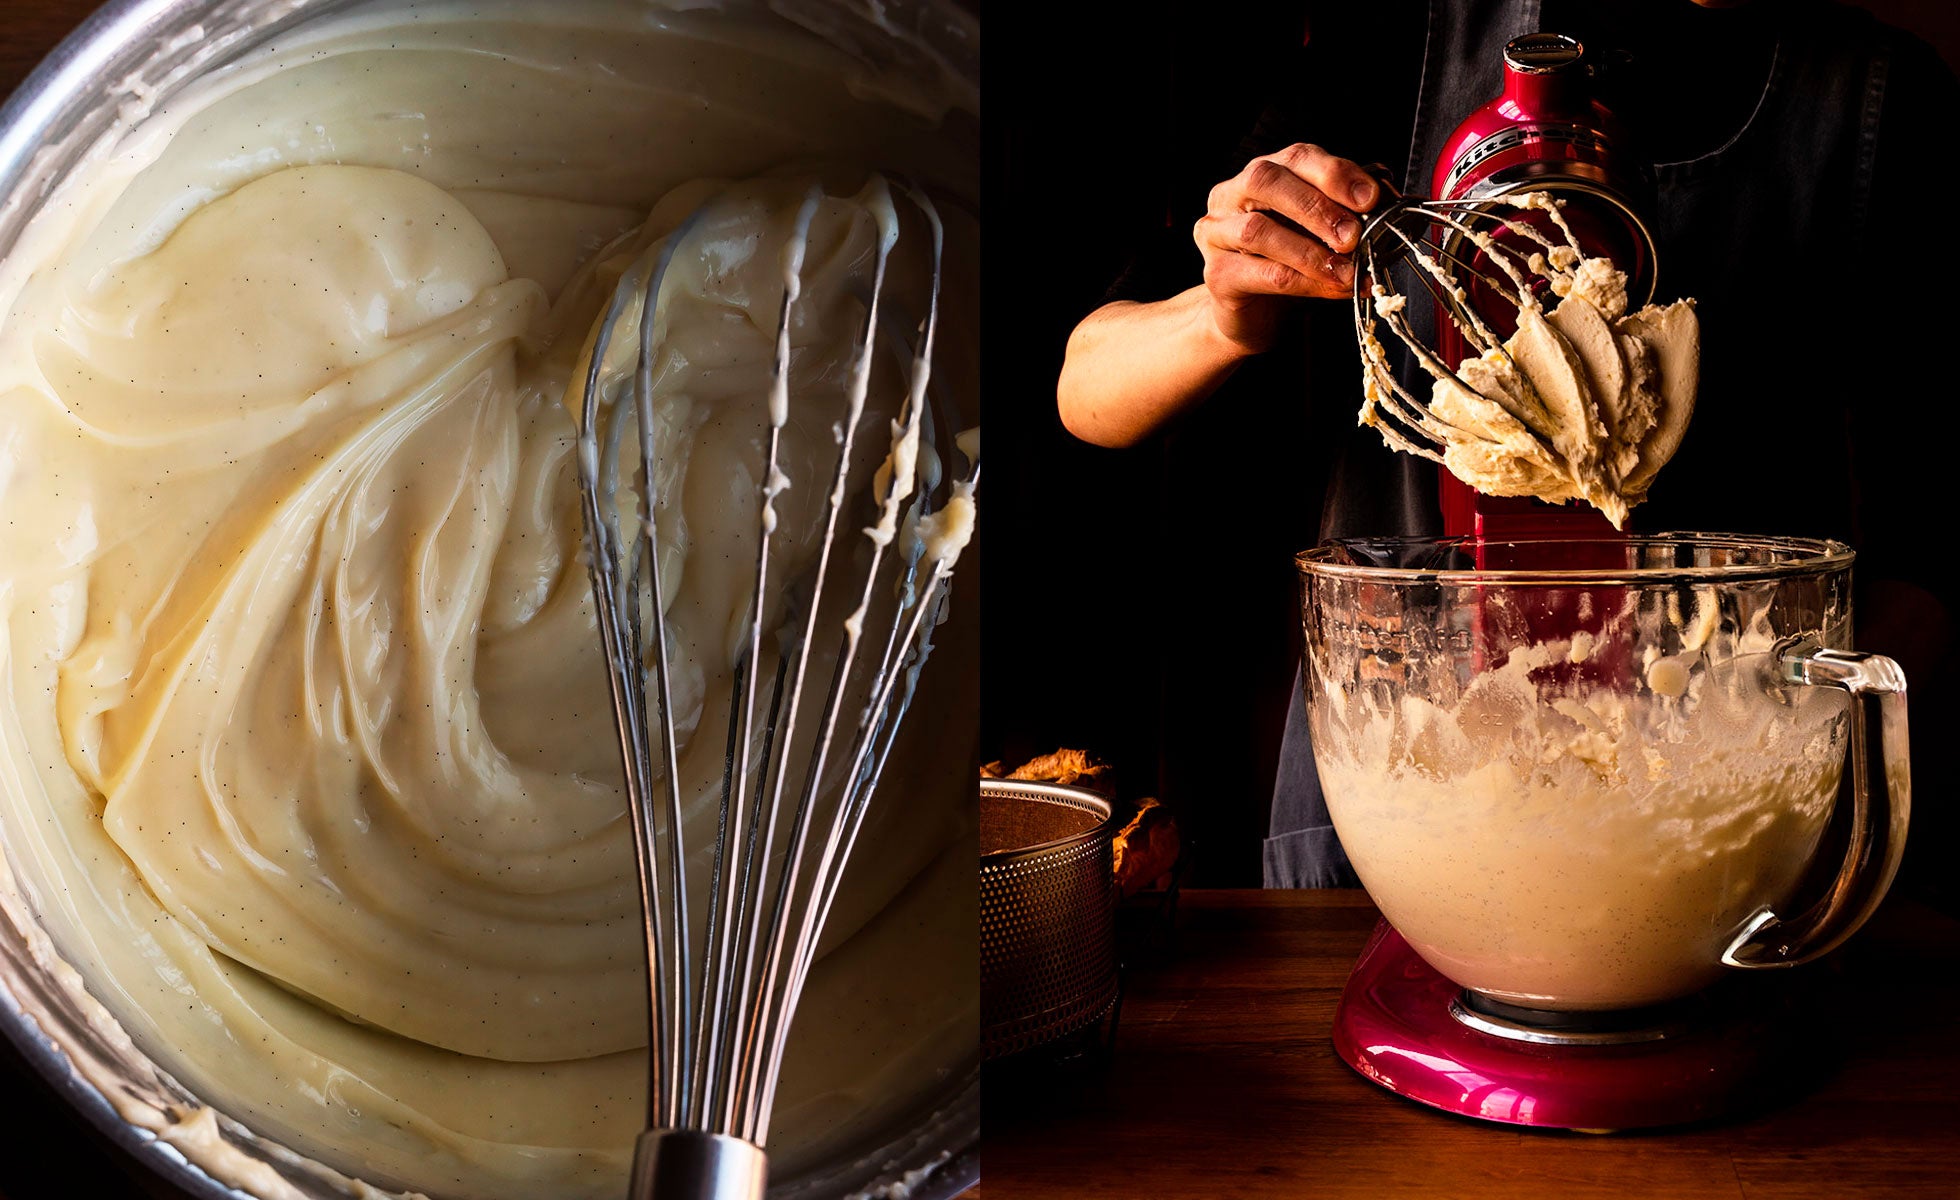
- In the KitchenAid glass bowl add the 250 g of butter. Beat with the whisk at medium-high speed until achieving an airy, whitish and creamy texture. It will take around 8-10 minutes.
- Incorporate the pastry cream and beat again at medium-high speed until achieving a smooth, homogeneous and creamy cream. If necessary, stop the KA to scrape the cream from the sides and continue mixing. It will take us around 5-6 minutes.
- At the end of the beating, we can leave it for 1 minute at high speed so it finishes gaining volume.
- It is very important when making mousseline cream that both elements are at the same temperature.
Assemble the Karpatka cake:
- You can assemble the cake inside the perforated mold itself if you wish to better preserve it during the cooling process.
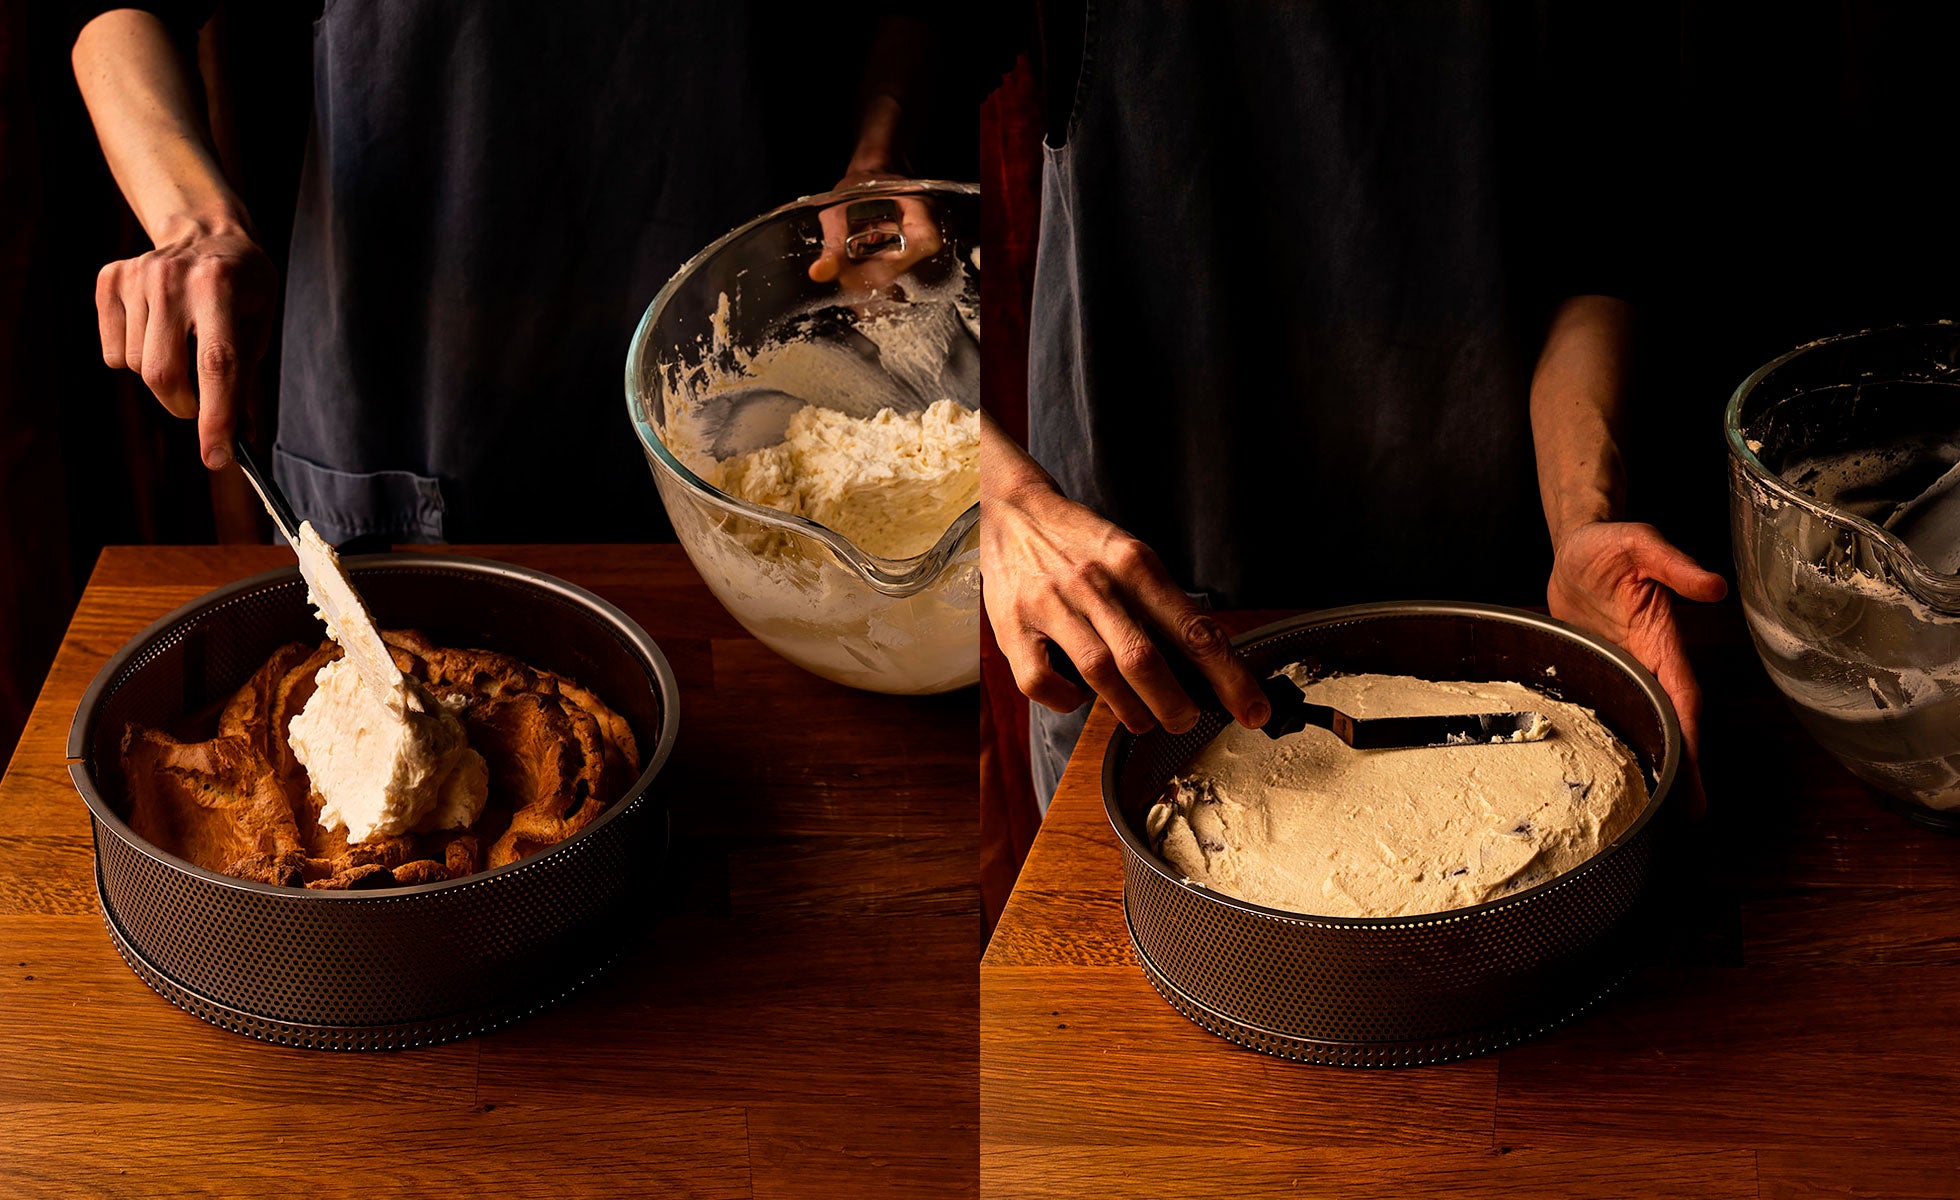
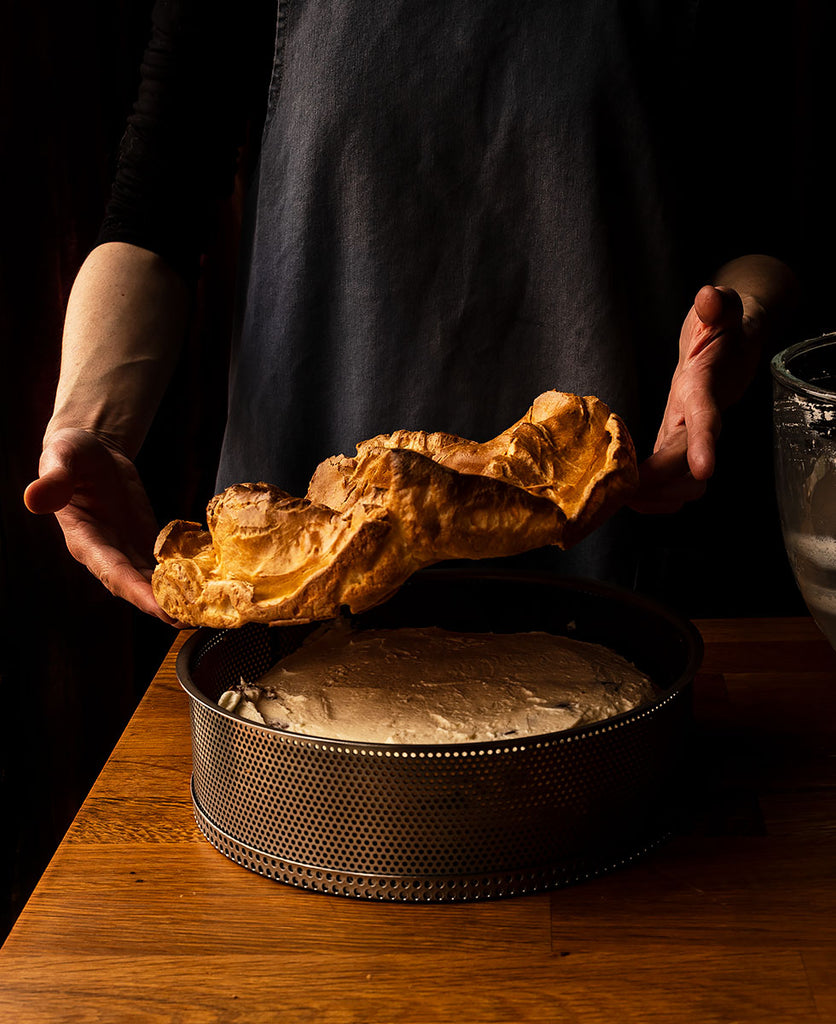
- Place one choux pastry disc inside the DeBuyer perforated mold.
- Cover the entire surface with the mousseline cream taking care to leave a surface as smooth and even as possible.
To serve:
- Carefully unmold the cake and place on a plate or serving platter.
- Dust the surface with powdered sugar and serve.
NOTES
- Do not skip the dough drying step of the choux pastry before adding the eggs. The final result will be better in terms of flavor and texture.
- It's important to let the choux pastry cool slightly before incorporating the eggs.
- If when adding the 4 eggs you observe that the dough is still very firm, beat one more egg separately and add it little by little to the dough, watching its consistency very well once it has been incorporated. This way we won't add an excess of egg which would result in a dough for fritters. And the dough won't rise during baking.
- I made this cake in the DeBuyer perforated mold. It is a wonderful mold and if you take care of it, you'll have it for life. The material allows even baking resulting in a perfect color, preventing the base or sides from burning. Also, it comes with Teflon sheets that fit the mold perfectly. It unmolds wonderfully and is very easy to clean.
- While you bake the first choux pastry disc, cover the other half of dough with plastic film to prevent the surface from drying out.
- The choux pastry discs can be made the day before assembling the cake, they keep in perfect condition at room temperature from one day to the next. That said, be careful with them if you live in very humid areas. In that case, cover them with film.
- The pastry cream can also be made the day before assembling the cake and kept refrigerated. Before finishing the mousseline, remember to temper it at least 2-3 hours before finishing the cream.
- Whenever possible, use natural vanilla. Whether in pod form or natural extract, instead of chemical flavorings.
- The butter and pastry cream must be at the same temperature when we join them to create the mousseline cream. Otherwise you will get a cream with a grainy texture or a curdled appearance. This can be solved by letting the cream come to room temperature so they reach the same temperature and finish whipping afterwards, but it greatly prolongs the preparation process.
- It is possible that after baking the choux pastry discs, if you let them rest at room temperature until the next day, they may increase slightly in volume and not fit well in the mold. In that case, assemble the cake outside the mold.
- Don't worry if there are reliefs in the dough, they are pretty and basically their essence. When covering with the cream, you can achieve a uniform and smooth surface. The cut looks beautiful with those irregularities.
- The cake can be prepared one day in advance before serving.
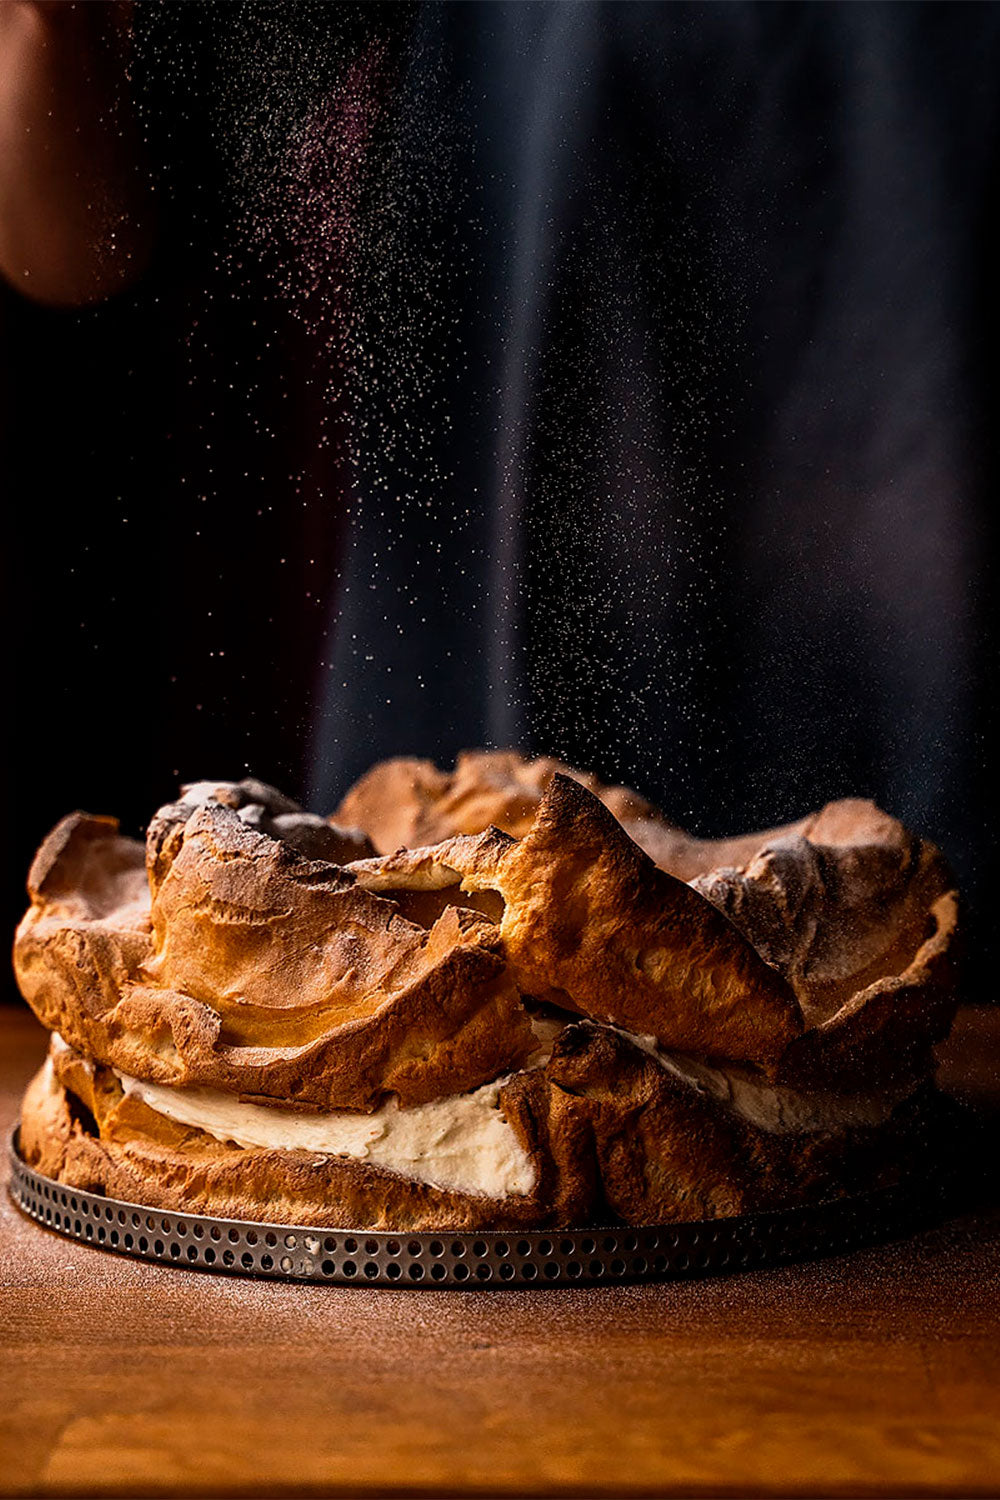
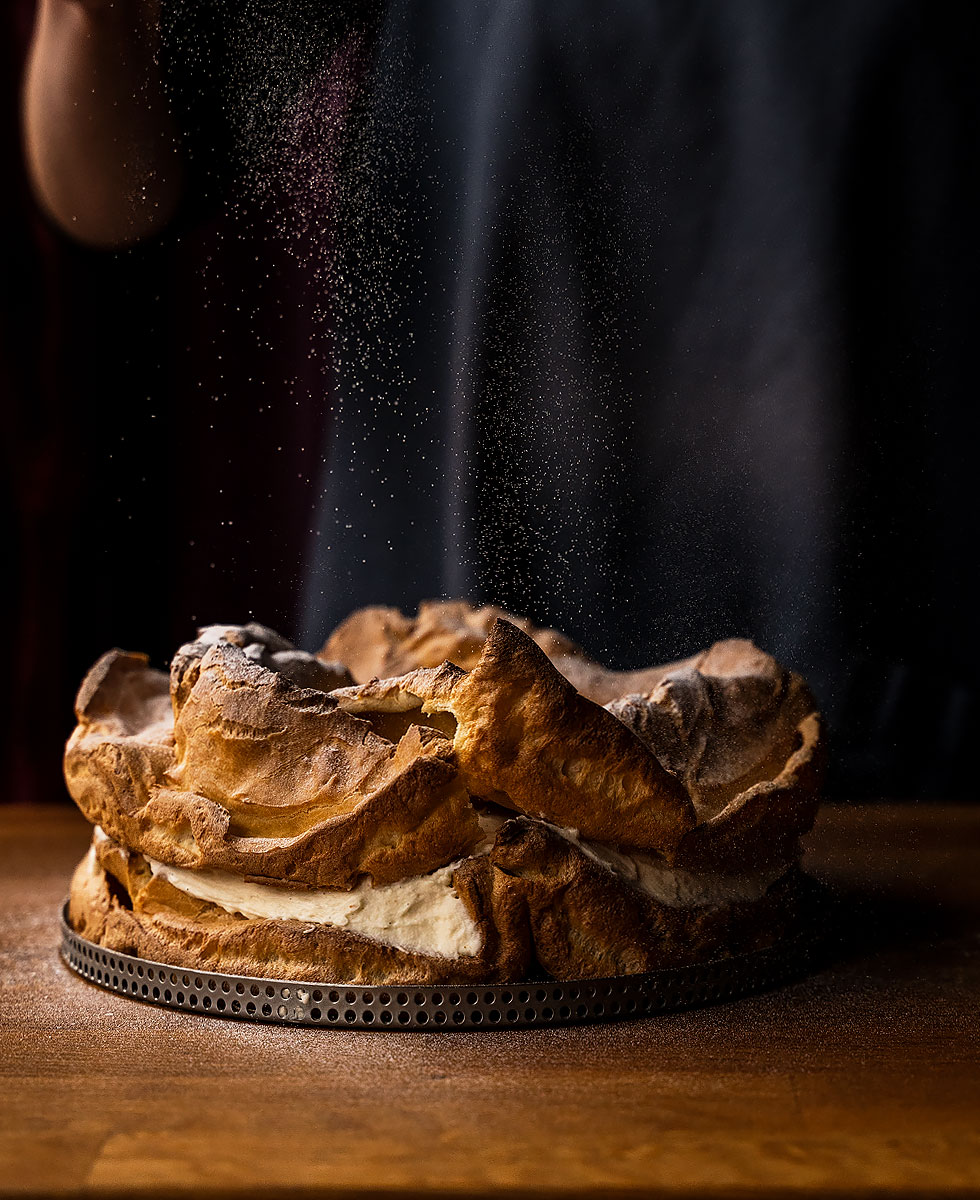
This Karpatka Cake is one of those easy, impressive and simple recipes that will make you succeed at dessert time. In addition, it can be prepared in advance, leaving only the powdered sugar to be dusted just before serving.
Don't forget to tell us about your experience and what you thought!
Clarification: Difference between the Karpatka Cake and the Kremówka cake
Often two cakes that share an image of two layers interleaved with cream are confused. The Kremówka Cake and the Karpatka are not the same cake, although they share some similarities in appearance. Both are popular desserts of Polish cuisine, but they differ in their preparation and presentation.
-
Kremówka Cake (Vanilla Cake): The Kremówka Cake, also known as Vanilla Cake, Napoleon Cake or "Papieska kremowka" (because it is known that it was a cake greatly enjoyed by Pope John Paul II), is a traditional Polish dessert consisting of layers of puff pastry interleaved with vanilla cream. It is usually cut into squares or rectangles and dusted with powdered sugar on top. It is a rich and decadent dessert often served on special occasions.
-
Karpatka Cake: The Karpatka is another delicious Polish cake, but instead of puff pastry, it is made with a dough similar to that of profiteroles. The dough is divided into layers and filled with vanilla cream or pastry cream. The top is usually dusted with powdered sugar or sometimes with grated chocolate. Karpatka is often served in square or rectangular portions.
In summary, although both Polish cakes are delicious and popular desserts that include vanilla cream, they differ in the base dough used. The Kremówka Cake is made with puff pastry, while the Karpatka is made with a dough similar to that of profiteroles. Both are delicious options for those who enjoy vanilla desserts in Polish cuisine.


Comments
Claudia said:
¡Super agradecida, Celia! te mando un efectuoso saludo, gracias por seguir el blog con tanto cariño.
Cecilia Iturra said:
Hola soy de Chile, pero leo siempre su pag pero no puedo comprar ya que no hay despacho para aca,pero quiero felicitarlas por lo precisa de sus recetas maravillosas,muchas gracias
Claudia&Julia said:
Hola Juan Antonio,
Sin duda las recetas de Eva son maravillosas, como ella :)
Muchas gracias por tu comentario.
¡Un saludo!
Juan Antonio Mateos said:
Un 10 para Eva (Bake Street )
Siempre enseñándonos receta perfectas