
I can't wait to share this unique and delicious recipe! Today we'll discover together the wonderful world of Chocolate Focaccia. This surprising, sweet and tempting variant is the perfect choice for a special breakfast or snack.
Chocolate Focaccia combines the traditional soft, slightly salty focaccia dough with the irresistible sweetness of chocolate. The contrast of flavors is simply marvelous, creating a unique culinary experience to enjoy at any time of day.

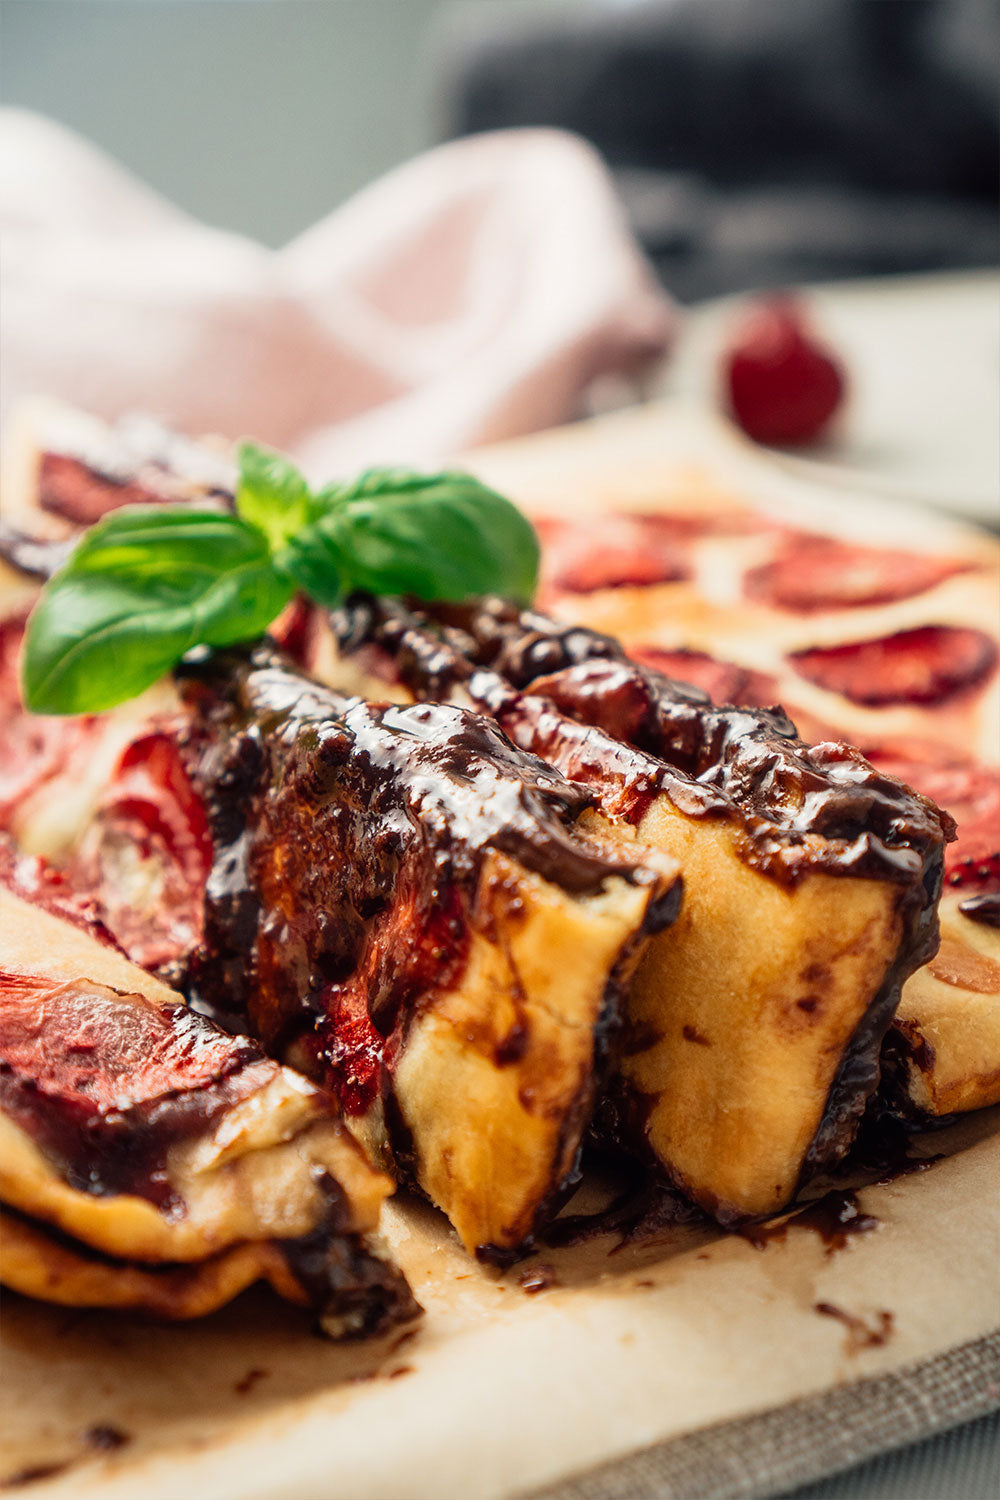
In my version of this recipe, I decided to pair it with roasted strawberries, since the juicy, slightly tart flavor of the strawberries contrasts perfectly with the chocolate. However, if you prefer to enjoy the pure intensity of the chocolate, you can omit the strawberries and enjoy this delight on its own.
Making Chocolate Focaccia is as simple as it is rewarding. We'll carefully mix the ingredients to get a smooth, elastic dough. The magic happens in the oven, where the chocolate melts and melds with the dough, creating a simply sublime result.
So, without further ado, let's get to work and discover the charm of this Chocolate Focaccia! I'm sure it will win you over from the first bite and become one of your favorite recipes.
Ingredients
- 260 ml water (room temp.)
- 450 g strong flour
- 15 g fresh yeast (or 3 g dry yeast)
- 1 heaping tbsp brown sugar
- 1 generous pinch fine salt
- Olive oil
- Maldon sea salt flakes
- 4 or 5 strawberries
- One bar of couverture chocolate*
*I chose dark chocolate; in my view it contrasts better with the strawberries, but you can make the chocolate focaccia with milk chocolate, white chocolate, or a chocolate blend.
Preparation
- Slightly warm the water so it's lukewarm.
- Dissolve the yeast in it, stir until well combined, and also add the sugar. Mix until dissolved and set aside a few minutes to activate it.
- Put the flour in the bowl of the KitchenAid stand mixer ideally (if you're kneading by hand, use a bowl directly). With the paddle attachment start mixing on low speed and add the water with yeast and sugar.
- When integrated, add the salt. Mix well until everything is fully combined and switch to the dough hook.
- Knead by hand or in the mixer with the dough hook until you obtain a uniform dough. You can use higher speeds now for kneading, and to make it easier you can alternate kneading with resting like this: about 3 minutes kneading and about 10–12 minutes resting. Repeat several times this way (don't skimp on kneading; it takes time for the gluten to develop), as long as the dough needs, until you see it smooth and soft. During rests, cover it with a kitchen towel to prevent it from drying out.
- When the dough is ready, you'll see it's smooth and doesn't tear when stretched. Shape it into a ball and place it in a bowl with the walls brushed with oil, covered with plastic wrap (to prevent air from getting in and drying the dough). You can brush the dough with oil if you like. Let it rest for about 45 minutes or until it has almost doubled in size. Place it in a warm spot; I often use the oven, closed and off, because there are no drafts (if I'm in a hurry I have preheated it to 40ºC to make it warm, then turned it off before placing the dough; the residual warmth helps the dough rise faster).
- When the dough is ready, grease a Revol porcelain tray (26cm long) with oil or non-stick spray.
- Remove the plastic wrap from the bowl holding the dough, and release the air from the dough by pressing it gently with your knuckles. Divide the dough in two, cutting it with a spatula, and place one portion in the pan, spreading it so it covers the bottom of the tray (keep the other portion covered with plastic wrap or a cloth).
- Distribute pieces of dark chocolate across the dough. The more, the better! Remember you can use a mix of different types if you like.
- Sprinkle sea salt flakes across the surface; you'll see later that the contrast intensifies the chocolate's flavor.
- Now take the second portion of dough and stretch it with your fingers on a floured surface to make a rectangle the size of the first. Transfer it to the Revol tray, covering the chocolate-studded dough.
- With your fingers, finish stretching it to align both layers. Brush generously with oil and cover the tray with the kitchen towel. Let it rest another 30 to 45 minutes so the doughs relax again.
- Preheat the oven to 210 ºC, and wash the strawberries.
- Uncover the tray, make some dimples in the surface of your focaccia and brush again with oil.
- Arrange sliced strawberries, about 2 mm thick, over the entire surface.
- Put the tray in the oven and bake 15 minutes at 210 ºC, then reduce to 190 ºC and finish baking until you see the dough and strawberries done (a total of about 25 minutes in the oven). You will see the dough has taken on a nice golden color, the edges pull away from the pan, and the strawberries look slightly shriveled or dry.
- Remove from the oven and cool on a wire rack.
- When it has lost the most intense heat, dust with powdered sugar and serve while still slightly warm so the chocolate remains molten. They'll be gone in no time!


Comments
Claudia&Julia said:
Hola Paula,
En nuestro blog puedes encontrar muchas más recetas, tanto de preparaciones dulces como saladas.
Si pruebas alguna de ellas, nos encantará que compartas el resultado ;)
¡Un saludo!
Claudia&Julia said:
Hola Bea,
Sentimos no poder ayudarte con esta consulta, ya que no tenemos conocimiento sobre el funcionamiento de Thermomix. Te recomendamos que sigas las indicaciones que da Thermomix para este tipo de preparaciones, masas levadas como el pan, por ejemplo.
¡Un saludo!
Paula mora said:
Me gustaría tener más recetas
Bea Osuna said:
No tengo Kitchen Aid però si Thermomix
Podrias indicarme el proceso para
Amasarla con mo Thermomix?
Gracias