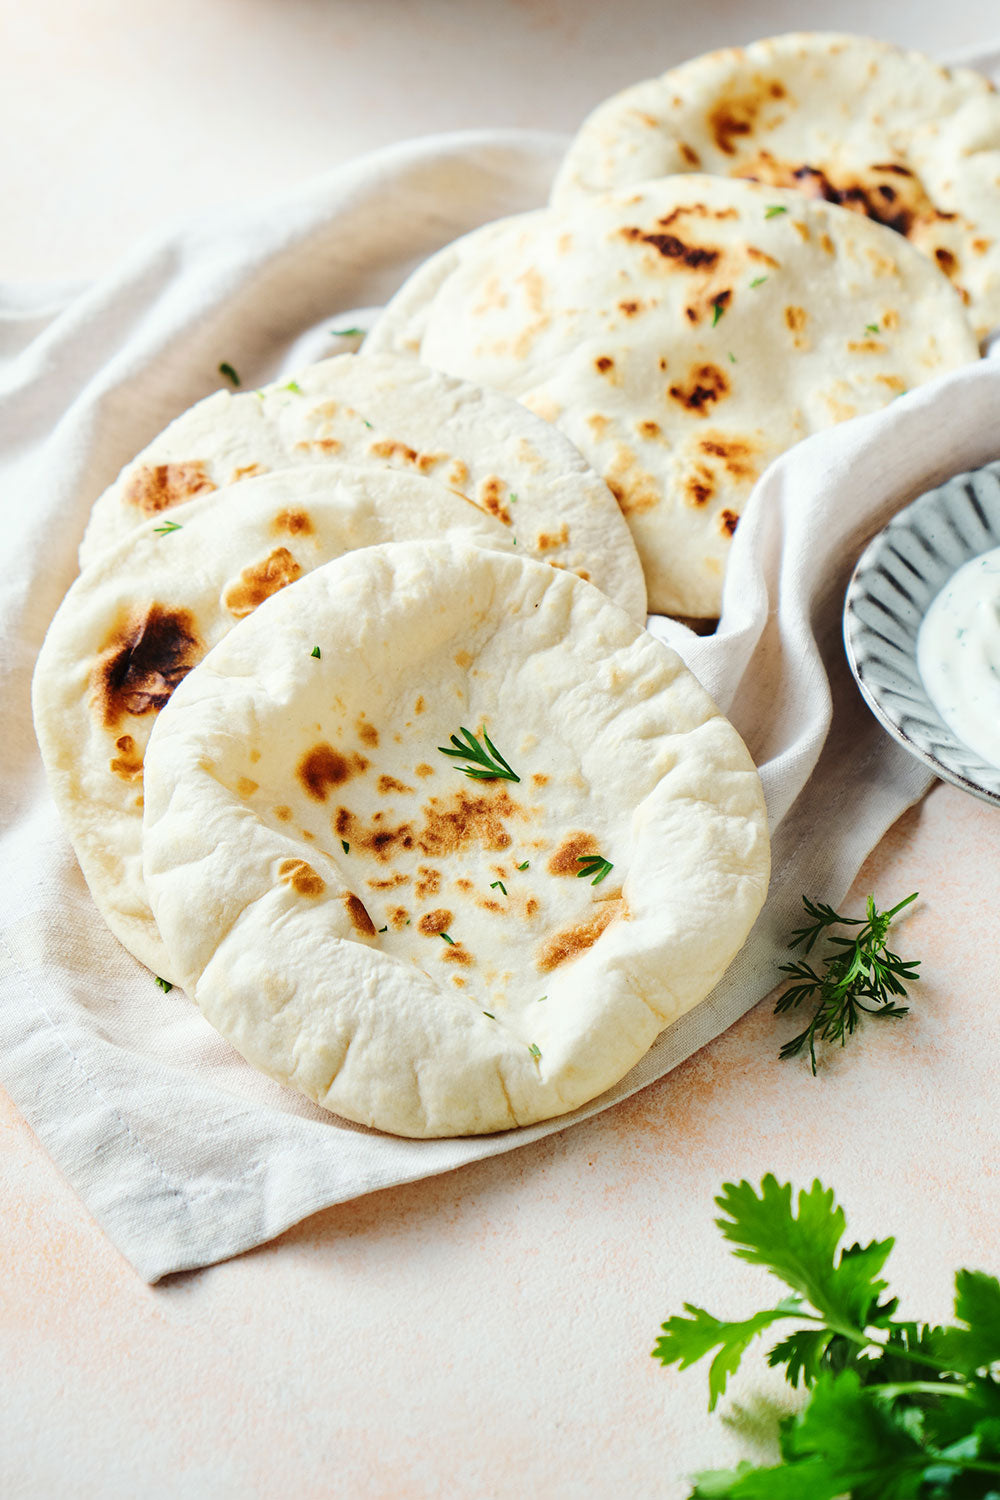
Discover how to make authentic Pita Bread, the Arab flatbread so popular, similar to naan bread but hollow inside. That characteristic gives it the great advantage of being an extremely versatile bread (you can fill it from the classic falafel to raw or roasted vegetables, or delicious strips of meat). And you'll love to know that it's a super easy recipe to make!
This easy and quick recipe will guide you step by step to create at home this flat, soft, and versatile bread, perfect to accompany your favorite dishes or to enjoy on its own, drizzled with olive oil (it’s delicious that way too!). Learn the secrets to achieve the perfect texture and that unmistakable flavor that only Pita Bread can offer.
We pair it with a video recipe, which we hope makes preparation easier for you.

History and Curiosities
Pita Bread, originating in the Middle East, is more than a simple side; it's a centerpiece on the table that reflects centuries of culinary tradition. This flatbread, known for its characteristic internal pocket, has been a staple in the diets of many cultures, from the Mediterranean to the Middle East, through the Balkans and beyond. Its versatility has made it popular worldwide, adapting to a variety of fillings and uses, from the classic falafel to serving as the base for delicious Mediterranean-style pizzas.
You might be interested to know about the recipe:
- Versatility: Pita Bread can be enjoyed in many ways, whether filled, toasted, or even used as a base for homemade pizzas.
- Nutrition: Traditionally made with simple, natural ingredients, Pita Bread can be a healthy option, especially when made at home with whole wheat flour or by adding yogurt for a softer texture and an extra protein boost.
- Cooking Technique: The technique to get Pita Bread to puff properly, creating the internal pocket, is fascinating and results from quick cooking at high temperature. This process is not only key to its structure but also contributes to its unique flavor.
How to make pita bread
(with ingredients and step-by-step below)
Ingredients
- 420 g flour (all-purpose)
- 7 g active dry yeast
- 250 ml warm water
- 10 g salt
- 2 tbsp olive oil
Preparation
- In the bowl of your KitchenAid mixer, add the yeast, the room-temperature water and 150 g of flour.
- Use the wire whisk and mix at medium-low speed until you achieve a homogeneous dough (speed 2). Let this mixture rest in a warm place about 10 minutes, or until you see bubbles form on the surface.
- Now add the salt, the olive oil and the remaining flour (270 g) to the bowl.
- Switch to the dough hook and knead for about 5 minutes.
- The dough should be elastic, slightly sticky to the touch but should come away from the sides of the bowl without problems. If the dough feels excessively wet, gradually add flour, one tablespoon at a time, while continuing to knead.
- Let the dough rest in a warm environment until it doubles in size (approx. 2 hours).
- After that time, on a lightly floured surface, divide the dough into 8 equal portions. Shape balls with each portion, pulling the dough toward the center at the base. Lightly brush each one with olive oil (use a kitchen brush). Cover them with a clean cloth and let them rest 30 more minutes.
- Flatten each ball until it reaches a thickness of about 0.5 cm. Heat a skillet over low/medium heat and cook your pitas one by one, greasing the skillet slightly before adding each one with a bit of oil or butter.
- When the bread begins to puff and shows golden spots on its surface, it's time to flip it (remove when the second side also shows signs of browning).
- Total cooking time should be about 5 minutes, flipping the bread every minute for even cooking.

Notes
If you want to experiment, or fancy varying the recipe from time to time, here are a couple of options often applied to pita bread recipes:- Milk or yogurt: For recipes that aim for a softer crumb and a slightly enriched flavor.
- To add milk: You can replace part or all of the water (250 ml) with warm milk to enrich the dough. Milk provides softness and a slight sweet flavor to the bread.
- To add yogurt: Add around 2 to 4 tablespoons of plain yogurt to your recipe. This is typically done in addition to the liquid already mentioned, so you may need to adjust the amount of water to ensure the dough isn't too wet. Yogurt adds acidity and tends to tenderize the crumb, resulting in a more tender bread.
- Whole wheat flour: For those who prefer a healthier version with more fiber, you can substitute part of the all-purpose flour with whole wheat flour.
- Partial substitution for whole wheat flour: To make your pita bread healthier without compromising too much on texture, you can replace up to half of the all-purpose flour (420 g) with whole wheat flour. A good starting point would be to use 210 g all-purpose flour and 210 g whole wheat flour. Adjust the amount of water if necessary, as whole wheat flour absorbs more liquid than all-purpose flour.


Comments
Claudia&Julia said:
Hola Iago,
¡Sí que lo están! Gracias por comentar :)
¡Un saludo!
iago trastoy said:
muy ricas… ÑAM ÑAM