You’ll agree with me that one of the easiest, quickest, most eye-catching ways to cook corn is to toast it on the grill. That’s why, when the grill or the barbecue is lit, make the most of it and add a few cobs to the fire that everyone will love! If you like them as much as I do, pay attention, because with this roasted corn on the cob with a garlicky touch recipe you will enjoy them like kids.
It's true that making them on the grill is very charming; but also We can cook them in the oven, on the griddle, or in the air fryer. With oil and salt, with a pinch of pepper or with butter, they are an authentic delight and are a very complete food. They turn out great and in less than half an hour they'll be ready to accompany the salad or as a perfect side for the roast.
Today's recipe is one of my favorites because we will use an ingredient that I personally love: roasted garlic. We'll use the roasted garlic itself as part of a wonderful butter to spread on the cobs and also, as an alternative, the oil we use to preserve them in the fridge.
In this post you'll see how to prepare the cobs to make them with a garlicky touch, and then how to cook them (how to roast them), because you can make the cobs in:
- The grill or barbecue.
- The oven.
- In papillote.
- In the airfryer or air fryer.
All set to roast the corn? Let's go with the recipe!

Le Creuset square grill skillet
Ingredients
- Corn cobs (one per person)
- Roasted garlic butter, or alternatively, oil from preserving the roasted garlic* (the amount will vary depending on the cobs you roast)
- Salt to taste
- Freshly ground black pepper to taste
*You can prepare the cobs with roasted garlic butter (you have the recipe here) or with the oil used to preserve the roasted garlic (here you can find all the instructions to make it). It is recommended that both the butter and the oil be at room temperature so they can be spread better over the cobs.
Preparation
1) We prepare the cobs with a garlicky touch
1.1.) With oil from preserving the roasted garlic:
- We rinse and pat the cobs dry, and clean them by removing the silk and the husks (if they have them). We can leave a husk or two if we’re going to roast them on the grill.
- Using a silicone brush we apply the oil over them so they are completely coated. We can also do this with our hands, thoroughly rubbing the cobs with the oil.
- We season them to taste and add the freshly ground pepper over them.
1.2.) With roasted garlic butter:
- We rinse and pat the cobs dry, and clean them, removing the husks or pulling them back if we’re going to roast them on the grill.
- Using a pastry brush or directly with your hands, spread the roasted garlic butter evenly over the entire cob.
- Add salt and freshly ground pepper to taste.
2) How to cook the cobs
1. Cobs on the grill or on the barbecue:
- With the iron grill already hot or the barbecue going, once we have the cobs ready (either with the roasted garlic oil or with the roasted garlic butter), we just need to place them directly on the grill.
- We will roast them uncovered and will need to turn them frequently, about every two minutes. Watch that they don't burn (but they should take on a beautiful toasted color).
- Depending on the tenderness of the cobs, in about 10 minutes they can be ready. If they aren't very tender, they'll take a bit longer. As soon as we see the kernels start to darken, they'll be ready to eat.
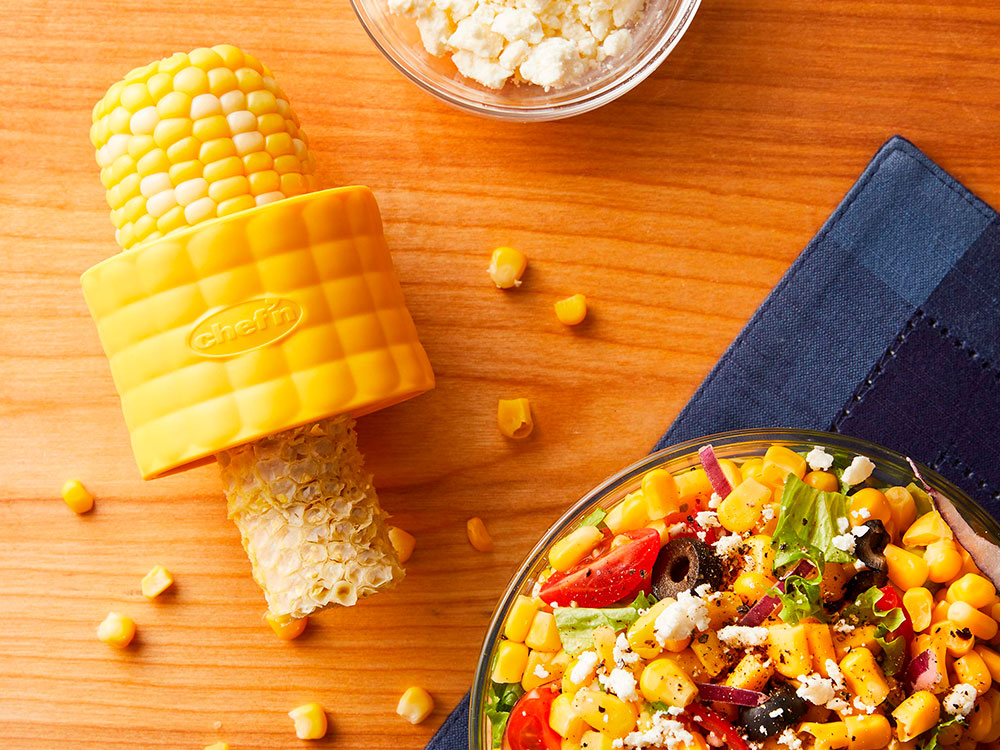
- We serve them at the table and let them cool a bit before taking the first bite. We can also remove the kernels with a peeler, like this one from Chef'n which is ideal for doing it quickly.
2) Oven-roasted cobs:
- We preheat the oven to 200 °C while we remove the husks, wash and prepare the cobs with the oil or roasted garlic butter.
- Once ready, we place them in a baking dish, in the Naturals® baking sheet from Nordic Ware. We can also cook them in the skillet skillet, they will turn out great!
- We put the cobs in the oven and, without lowering the temperature, let them cook for about 25 minutes. Just as when making them on the grill, the cooking time will depend on how tender the corn is. If we see they’re not done, we leave them 5 to 10 minutes more, watching that they don’t burn.
- We remove the cobs from the oven and serve them at the table, just as they are, in the tray, skillet, or dish we cooked them in.
3) In papillote:
We can cook the cobs en papillote either in the oven or on the grill. This way they won’t come out toasted, but we’ll get a very tender result, full of flavor and juiciness, thanks to the internal steam this cooking method generates. Also, if we want to give them a toasted finish once cooked, we can easily do it by searing them on the grill or opening the papillote and browning them with the grill.
- If we’re going to make them on the barbecue, once the cobs are cleaned, husked, and prepped, we’ll wrap them individually in aluminum foil and arrange them spaced out on the grill or directly over the embers. We’ll cook them for about 20 minutes, turning them frequently with tongs. If they’re very tender, they’ll be ready in about 15 minutes.
- If we're going to make them in the oven, heat it while you clean and prepare the cobs. When they're ready, place them in the Emile Henry ceramic papillote dish, cover the dish with its lid and put it in the oven for about 15 to 20 minutes. We can also prepare them wrapped in aluminum foil and place the cobs in a baking dish or in a Naturals® baking sheet from Nordic Ware, cooking them for the same amount of time.
- As soon as they're ready, remove the cobs from their wrapping and enjoy!
4) Cobs in the airfryer:
- While cleaning and preparing the cobs, preheat the fryer to 200 °C for 5 minutes.
- When the cobs are ready, whether whole or in rounds, place them in the fryer basket so they don't touch each other.
- Place the basket in the fryer and cook them for about 5 minutes. If using baby cobs, cook for about 3 minutes.
- After this time, turn them over and cook again for 5 or 6 more minutes (if baby cobs, less time should be enough).
- After the necessary cooking time, they'll be ready to eat!
Notes
- The cooking time for the cobs is approximate, provided the cobs used are tender. If you see they aren't that tender, a trick to help them cook well without burning is to soak them for about 10 to 15 minutes once you've cleaned them. Then drain and lightly dry them before applying the oil or butter.
- Don't hesitate to give them your personal touch! If you like spicy, if you adore curry, if you love raw garlic or prefer herbs like rosemary or thyme, use these seasonings to flavor and aromatize the corn. Sprinkle them over the cobs, use an oil that contains them or make your butters with them and spread the corn with those.
- Enjoy them alone or accompanied by a bit of fresh cheese, mozzarella, or top them with diced cured ham or smoked bacon, they'll be delicious. Also, as-is, they are the perfect accompaniment to a fish or meat dish.

- Did you know you can also give them a smoky touch to achieve a different flavor? You can do it in several ways:
- Cooking them on the Traeger pellet grills. Their pellets from different woods will provide that delicious smoky note. Each variety will leave a distinct aroma and flavor each time.
- Using a homemade smoker like this from Zwilling, which allows you to smoke them in the oven, on any type of stove and on the grill.
- Once you have the cooked cobs, you can give them that smoky note with a smoking gun. It's a very quick and effective method to add a smoky flavor to the cobs—and to everything you cook!
- As you can see, the cobs are prepared very easily and quickly. Always take advantage when you have something in the oven or on the grill to roast a few. The Naturals® baking sheets from Nordic Ware are ideal for this, as they allow you to make great use of the oven (because of their size and how well they conduct heat).
And don't forget that if what you want is to enjoy your garlicky corn in salads, to garnish other dishes or simply as a snack, and you want to remove the kernels from the cobs, what will work great for you is the Chef'n corn peeler, Had you seen it before?